Data Transformation
Data transformation using Code Studio in Zoho Analytics involves manipulating and preparing raw data for analysis. By writing custom Python code, you can clean, filter, aggregate, and restructure data to suit your analytical needs. This process allows you to integrate data from multiple sources, handle missing values, create new calculated fields, and apply complex logic to enhance data quality.
For example, let's take the CRM data, where the data is flowing from various sources. We need to consolidate and organize data from these sources to gain valuable and more accurate insights and predictions.
How to transform data using Code Studio?
To transform data using Code Studio,
- Open the workspace in which you want to transform your data.
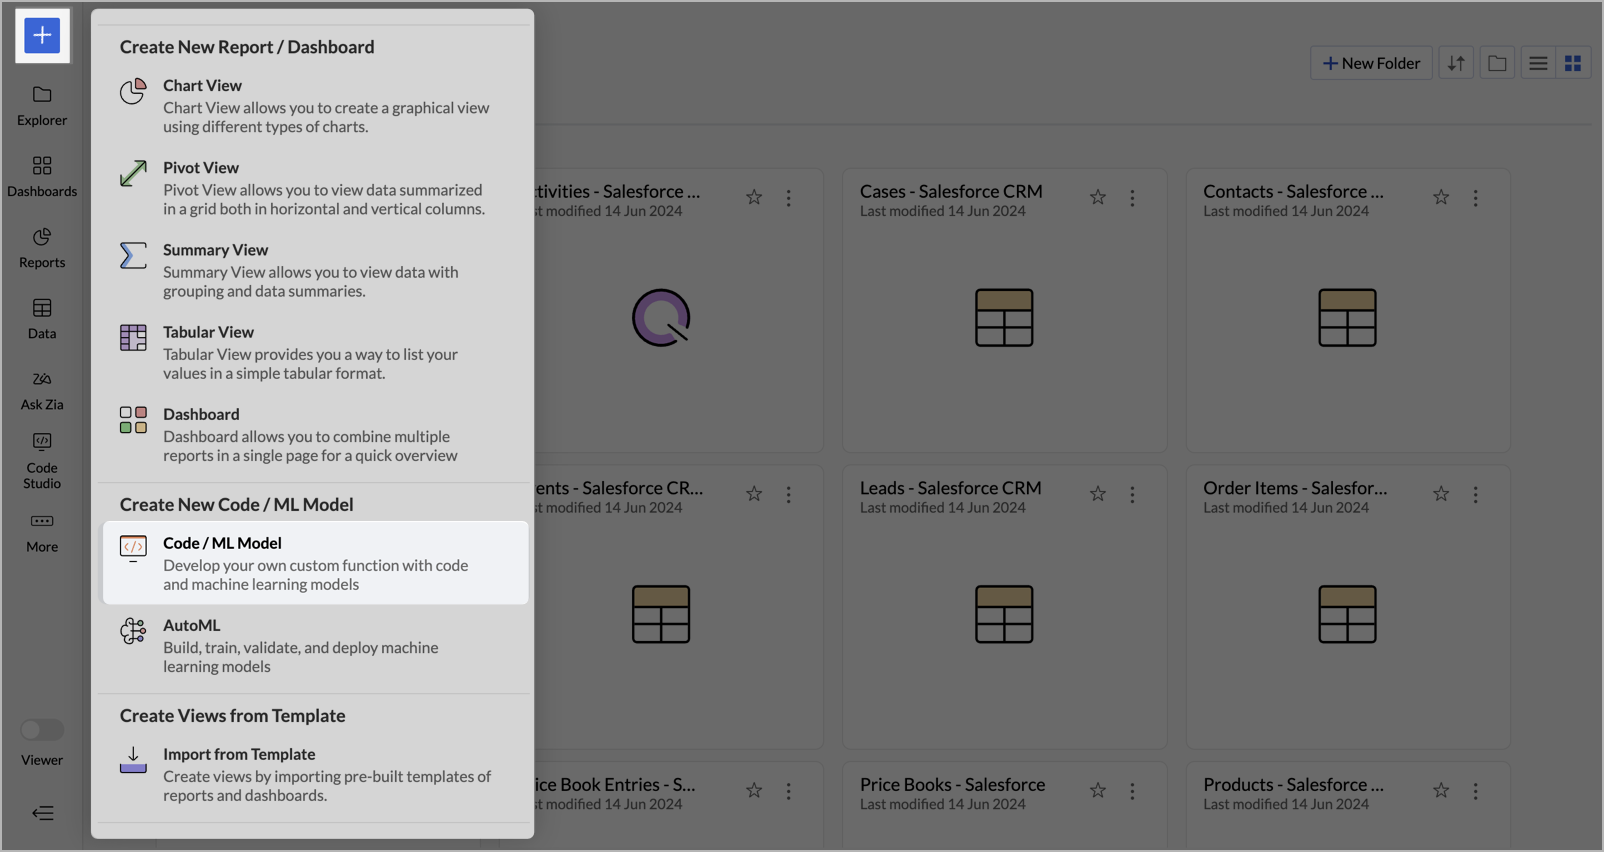
- Click the + Create icon on the left side pane and select the Code / ML Model in the menu that appears.
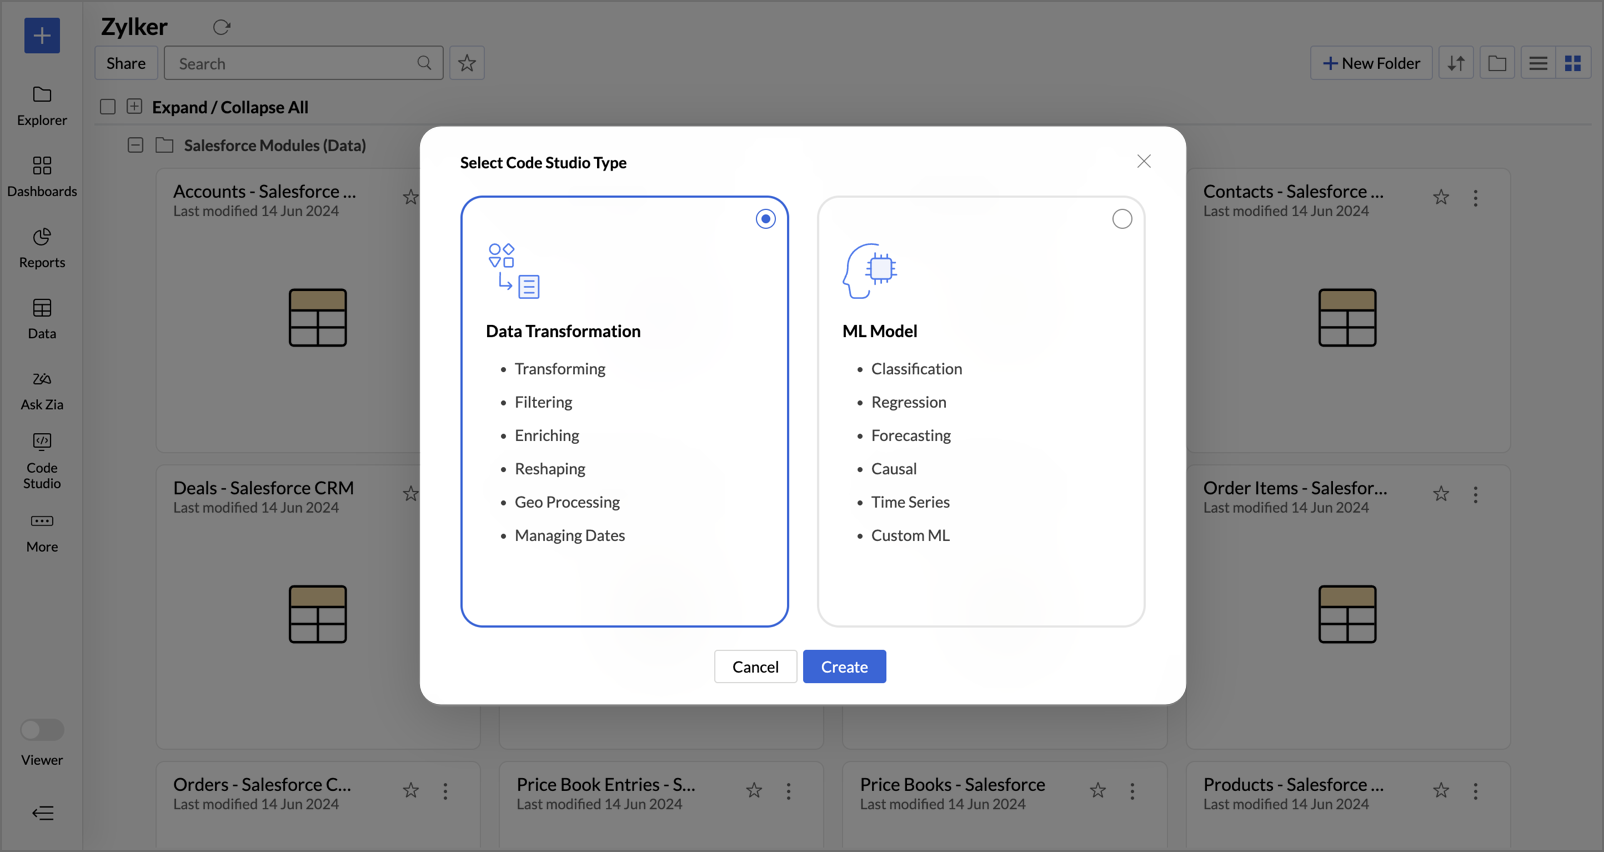
- Select Code Studio Type dialog will open, prompting you to select from the two types - Data Transformation and ML Model.
- Select Data Transformation and click Create.
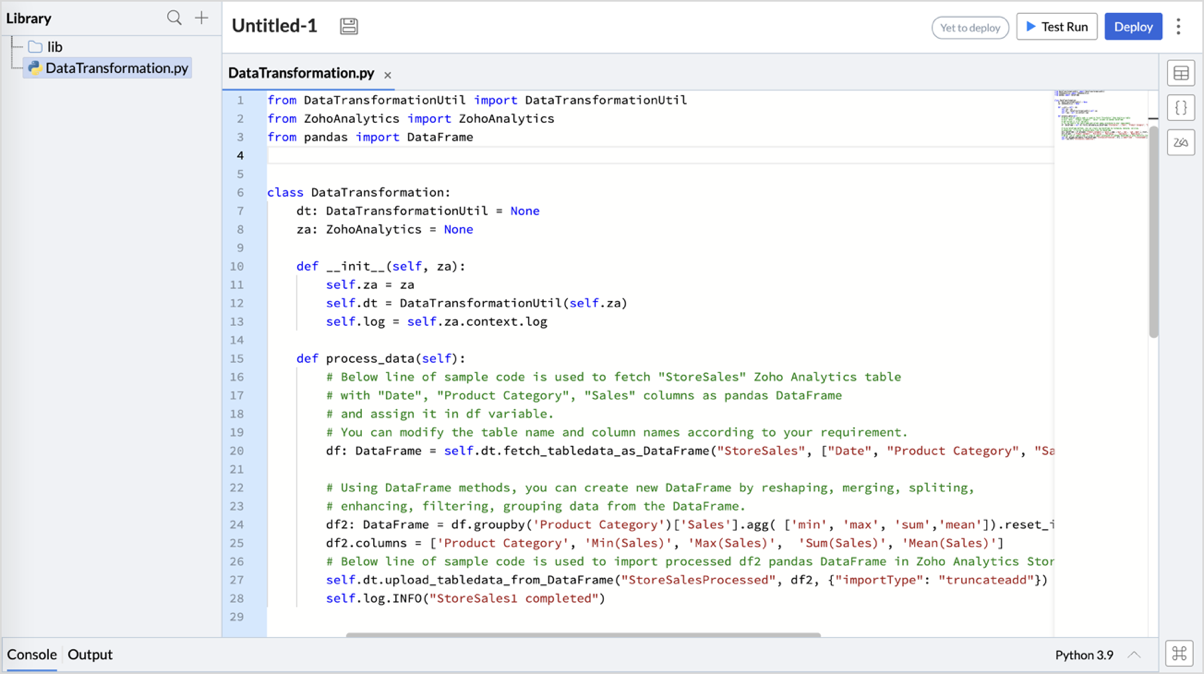
- The Code Studio Editor page will open, with a sample code in it.
- You can manage additional files and dependencies in Code Studio using the Library tab in the left pane. Click the + icon next to the Library tab to access the following options:
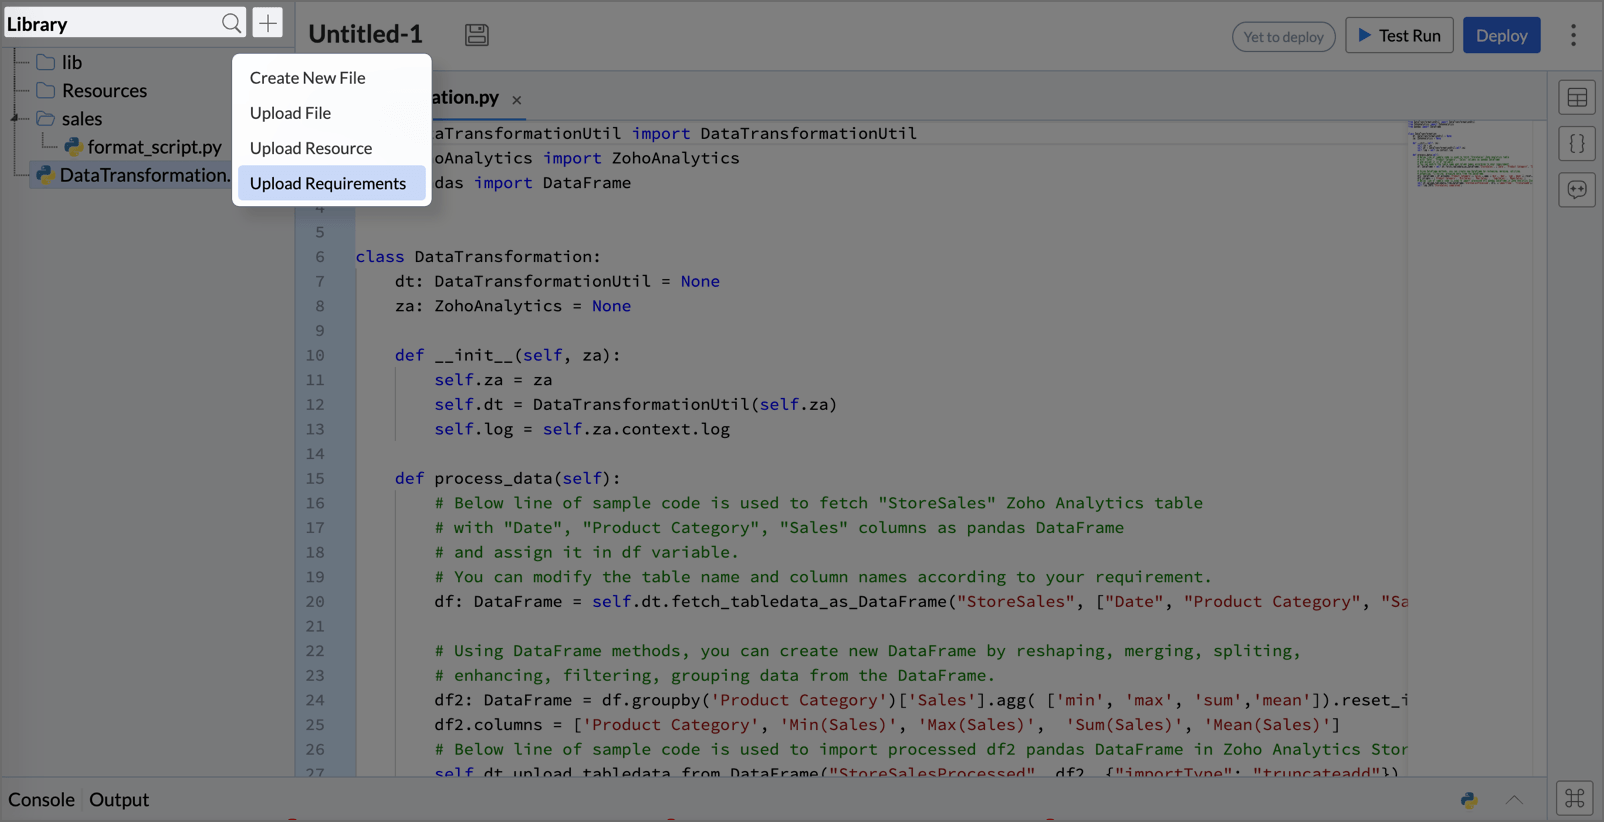
- Create New File- Creates a new file within the Code Studio environment.
- Upload File- Uploads a Python (.py) file to use within your script.
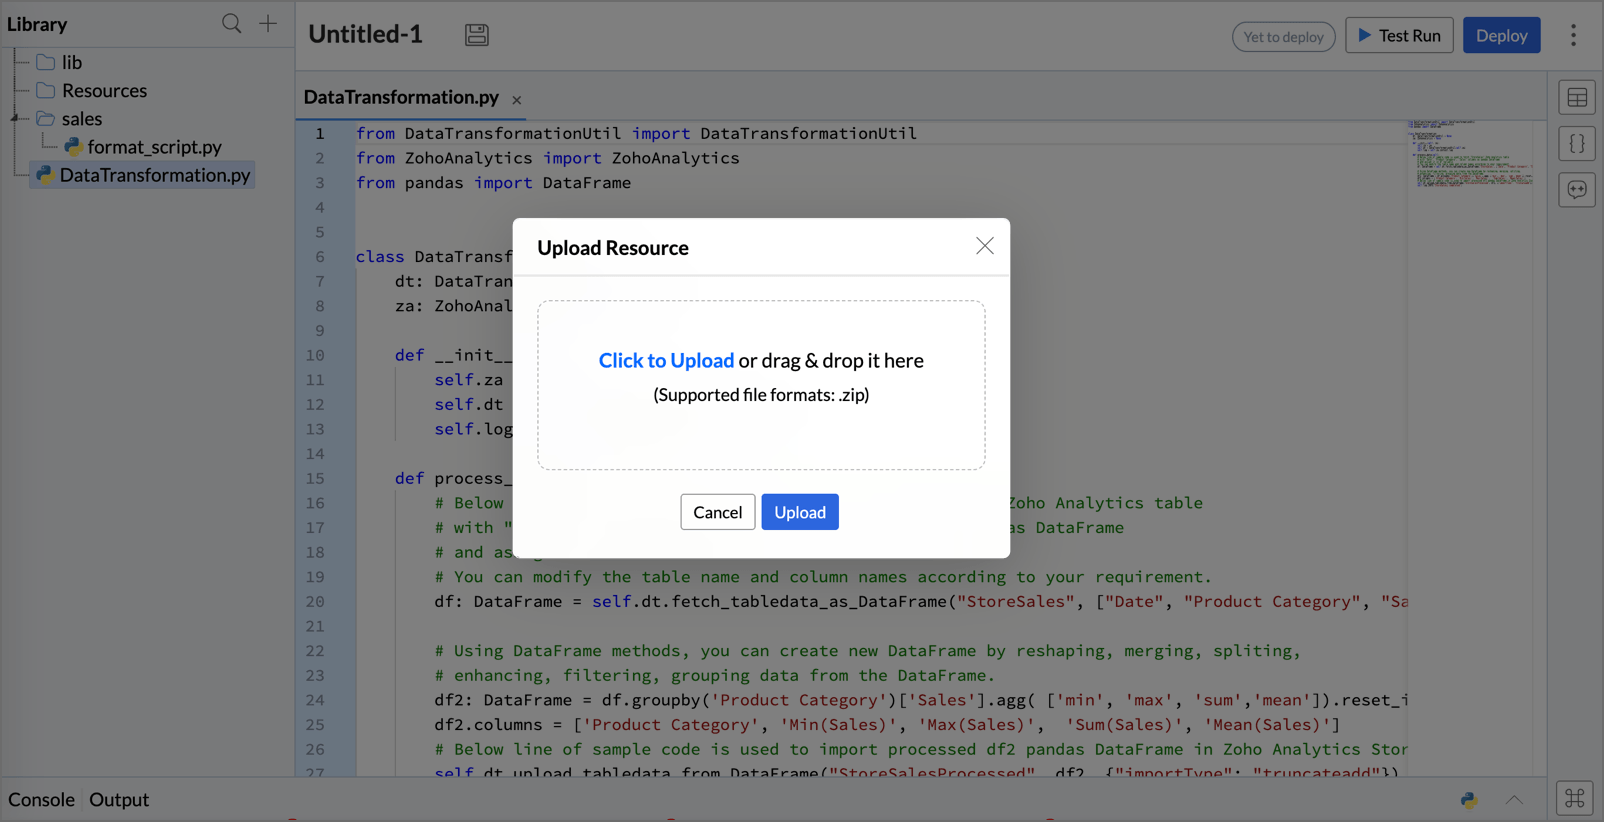
- Upload Resource - Uploads a resource file (in .zip format) to the Code Studio environment. In the Upload Resource dialog that appears, drag and drop the .zip file or click Click to Upload to browse and select the file, then click Upload.
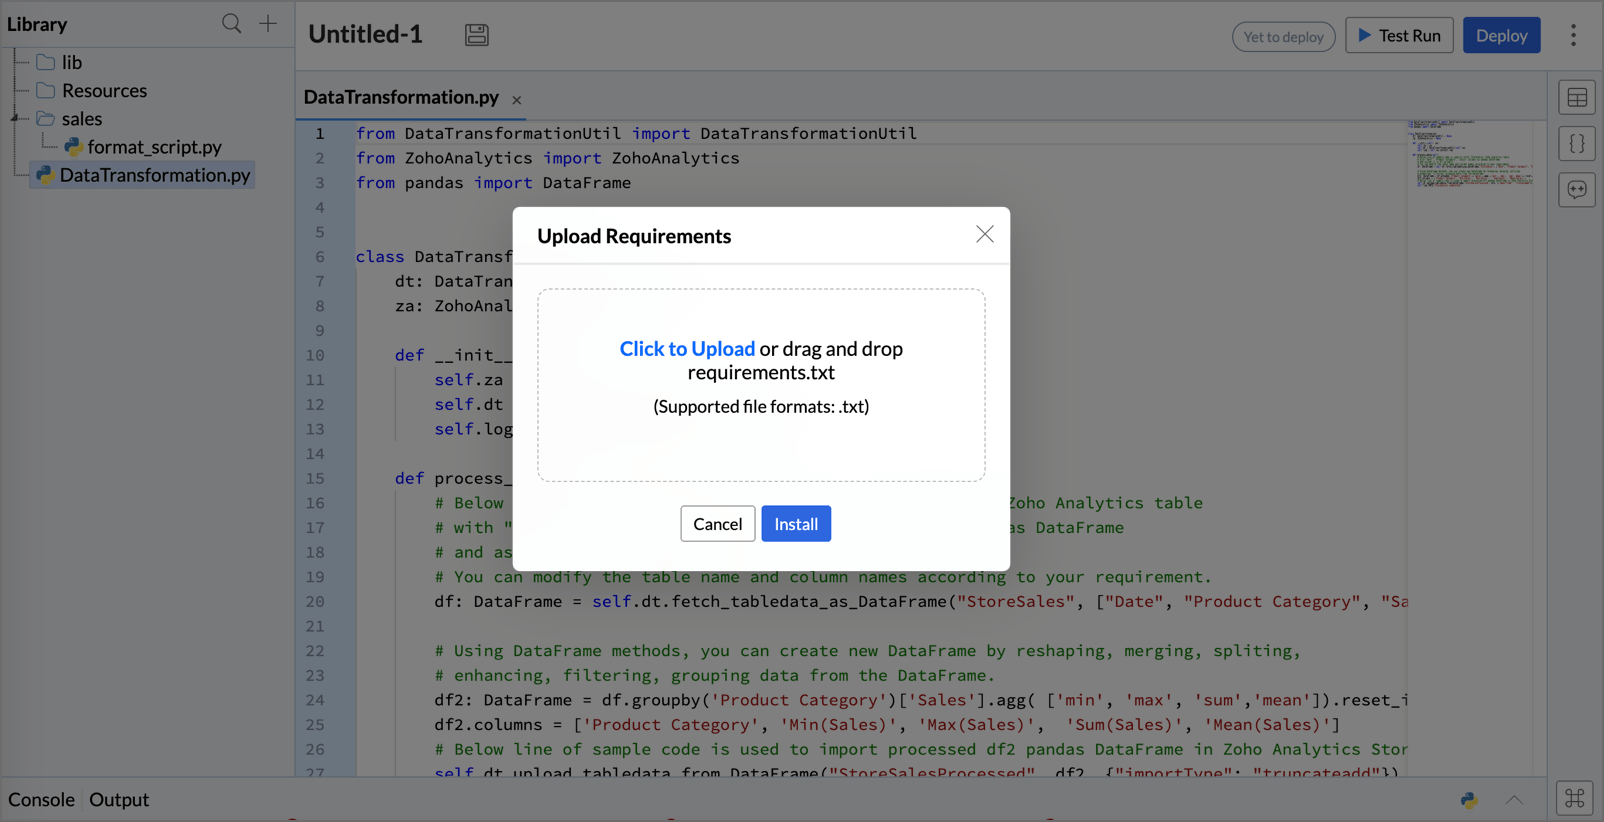
- Upload Requirements - Uploads a requirements.txt file to install additional Python packages needed by your script. In the Upload Requirements dialog that appears, drag and drop your requirements.txt file or click Click to Upload to browse and select it, then click Install.
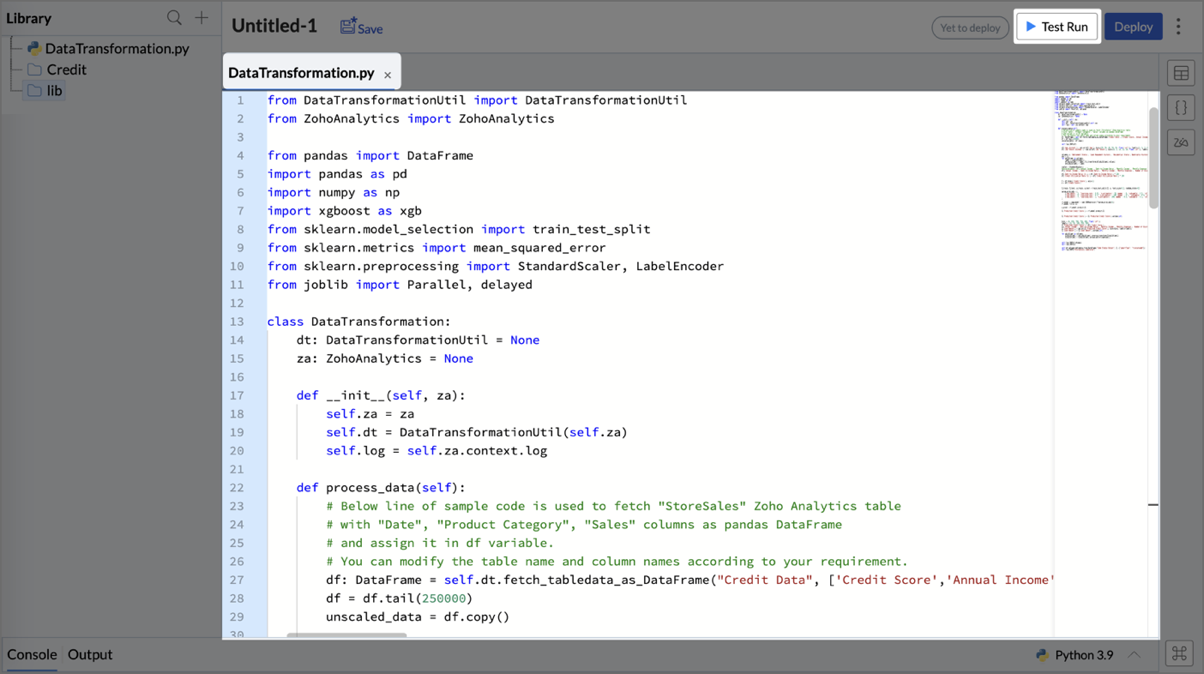
- Enter the Python script into the Code Studio Editor to transform and prepare your data for analysis.
- Once completed, click the Test Run at the top to validate the script by ensuring it produces the expected results. The first 100 rows of data are executed, and the results can be validated by checking the output.
- You can check the results of the Test Run in the Output and logs in the Console sections at the bottom.
- Console: A text-based interface used for debugging and troubleshooting.
- Output: Displays a preview table with a sample response for the executed script.
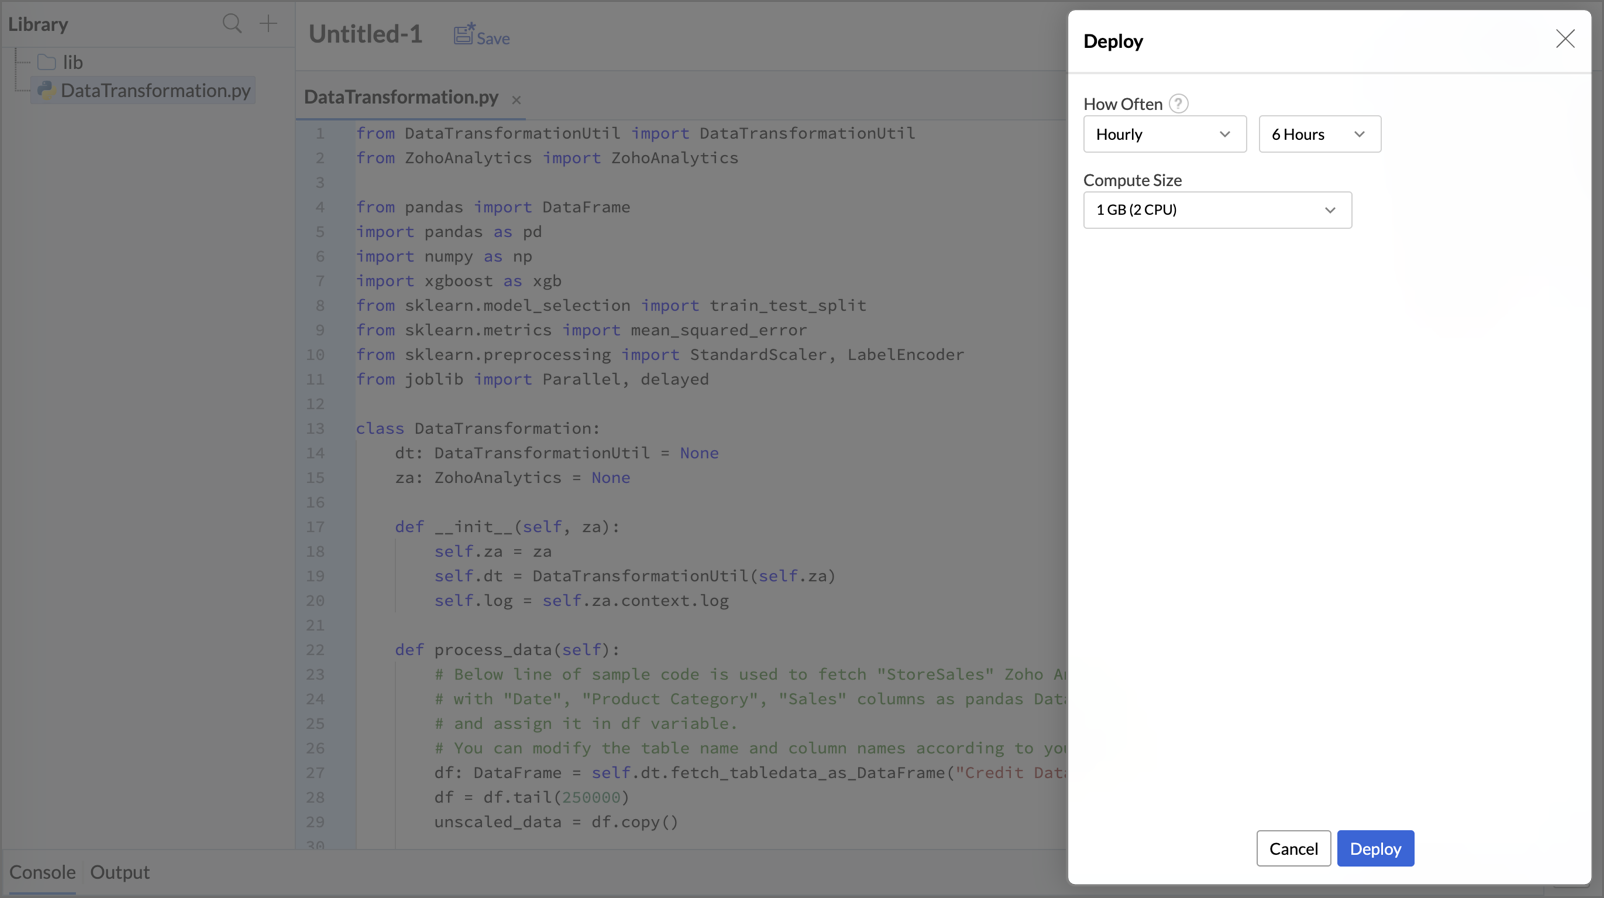
- If the script is executed successfully and the results are as expected, click the Deploy button at the top right corner to deploy the code.
- The Deploy dialog box will open with two fields How often and Compute Size.
- How Often - You can schedule deploy at regular intervals using this option. The tables created by deploying the Python scripts will not auto update based on the data changes. They will be updated only when deployed again. You can choose either Daily or Hourly (1, 2, 3, 6, and 12 hour) deploy intervals.
Compute Size - The compute size refers to the memory configurations allotted to execute and deploy your code.
 Note: Deploying the code will execute the data in all the rows, and the final output is stored as a table, which can be accessed from the Explorer page. The data in the table will be updated only on each deploy and not affected by data changes.
- Once Deployed, the final output will be saved as a table. You can access the table from the Explorer page and create reports and dashboards over it.
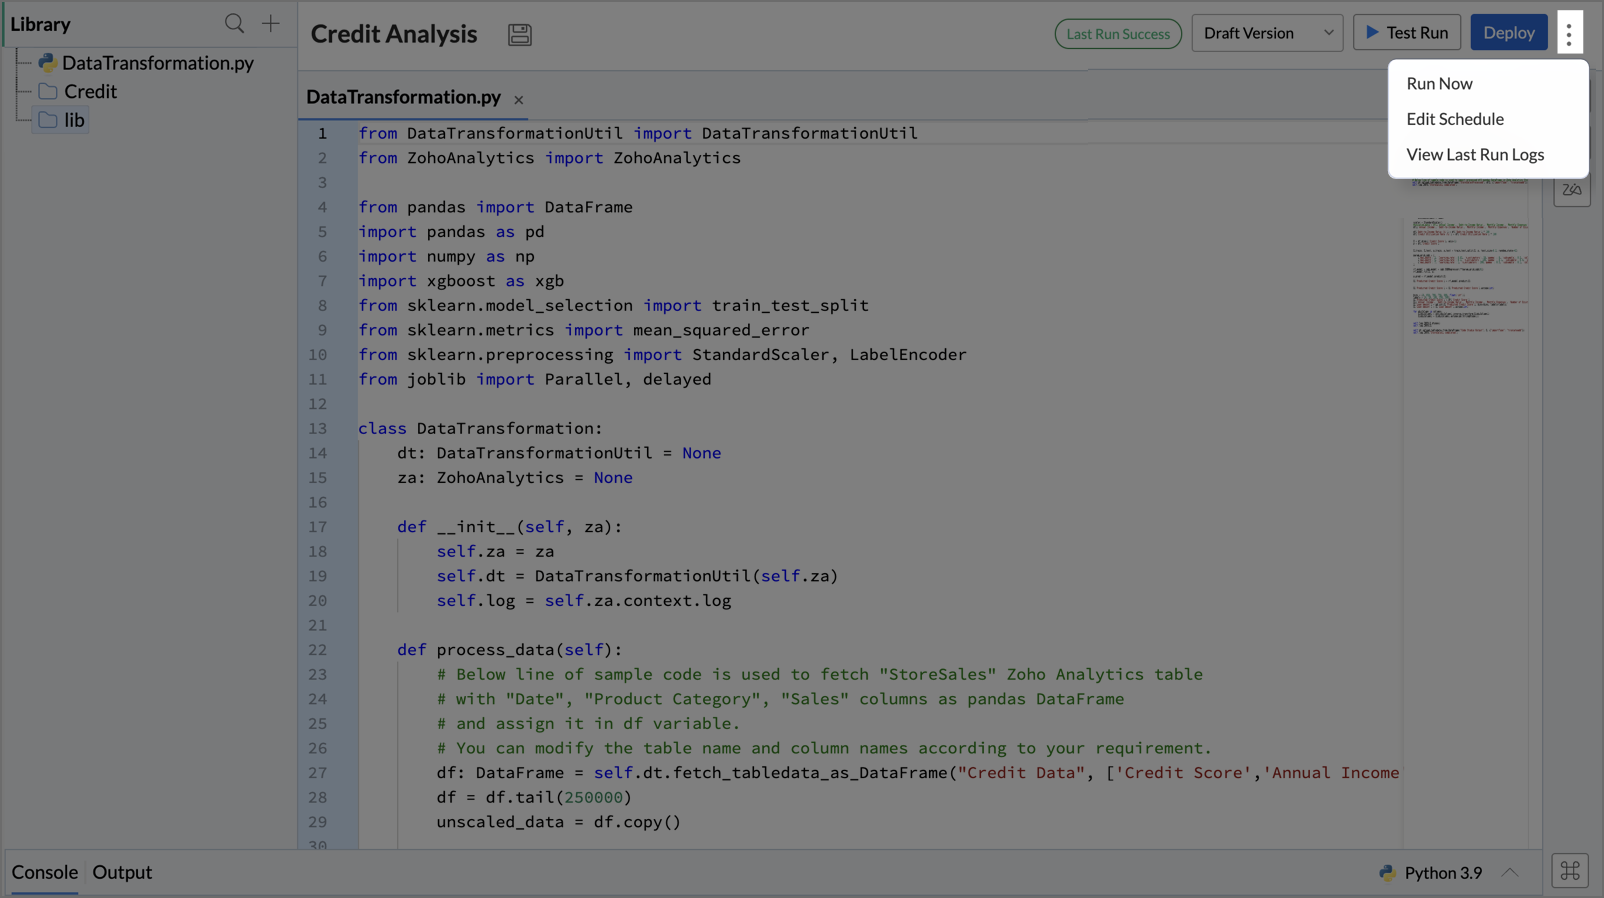
The Code Studio and the table created are not directly connected, and data will be updated only on the next deployment. - Click the More Options icon in the top-right corner to access the following features:
- Run Now: Immediately runs and deploys the script, updating the output with the most recent data.
- Edit Schedule: Modify the interval for regular deployment runs.
- View Last Run Logs: Displays the status and details of the last run.