Workplace Setup
The Workplace Setup module enables you to add and manage information on your office facilities. There are three aspects to your workplace configuration: branches, buildings, and seats. These information is essential to monitor employees collectively, facilitate dissemination of information, systematise allocation of space, and maintain a uniform order across locations.
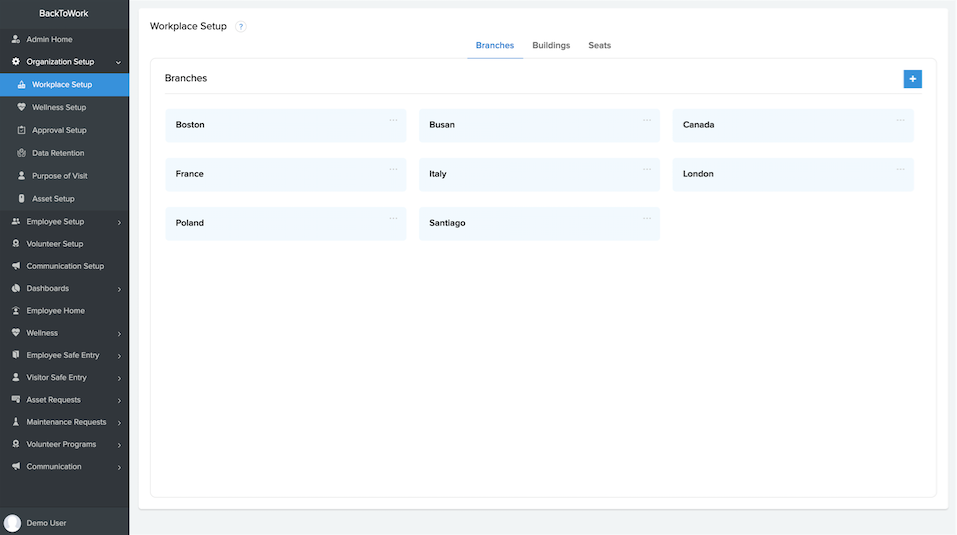
Branches and buildings
This section displays the branches at which your organization is established and the buildings in each of those branches. You can enter the information in the Workplace Setup form. Branches refer to the locations in which the organization is present. There can be multiple buildings in a branch.
Module Configuration section in Workplace setup allows you to determine the modules that can be accessible to users of a particular branch. You can enable or disable the modules by selecting or deselecting them. The modules that are selected will be enabled for users of that branch. So users of different branches can have access to different sets of modules. This configuration is applicable to the following modules:
- Asset requests: If disabled, employees will not be able to raise asset requests.
- Maintenance Requests: If disabled, employees will not be able to raise maintenance requests.
- Travel History: If disabled, employees will not be able to added travel details.
- Workplace Gatherings: If disabled, employees will not be able to add details of workplace gatherings.
To determine building specifications you need to provide the associated branch, building name and the status (whether it is open or closed). If a building is closed, then entry requests cannot be raised for that building.
You need to specify the maximum number of employees and visitors who will be allowed to enter into a building. Safe entry requests will not be accepted beyond this stipulated number. For example, if the maximum count is 30, if we get 30 requests, we will close the form off. In that if 20 is approved, 10 is rejected, again we will open the form and accept 10 more requests.

You need to mention who is to handle Employee Safe Entry process:
Front Desk Staff/ Branch Manager/Admin - Employees in either of these roles will be able to check-in/check-out employees/visitors.
Kiosk - A kiosk is a device like a smartphone/tablet. The BackToWork app needs to be installed on it and the kiosk email entered must be used to login to the application. This kiosk email address is provided while you are configuring the building details. After logging in, the app will open and will have a QR code scanner. When placed at the building entrance, employees and visitors will be able to self check-in/check-out by scanning the QR code at the kiosk.
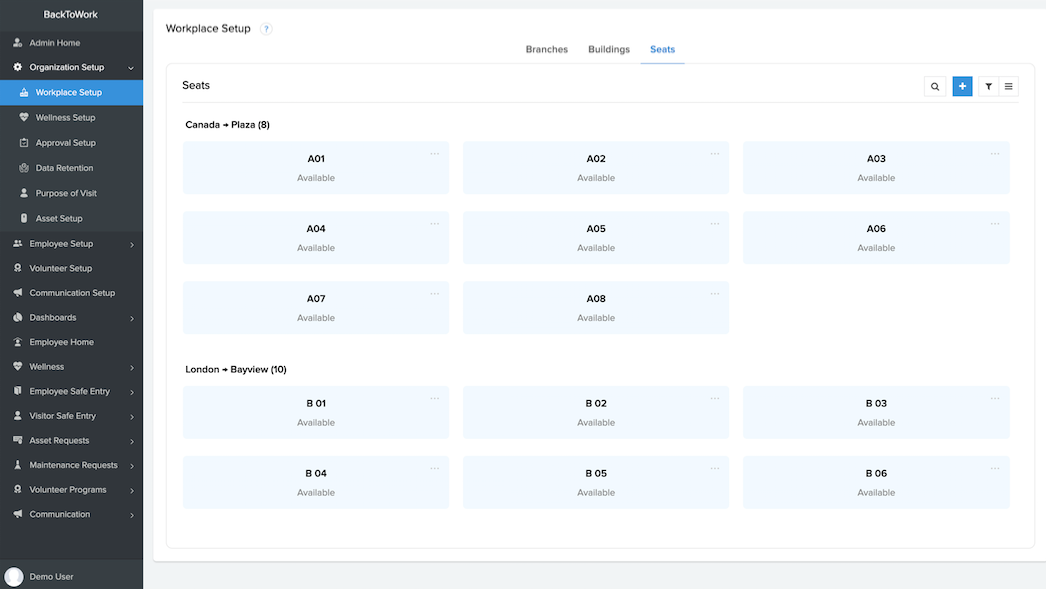
Seat allocation
The Seats section displays information related to the seats available in each of the buildings. You will be able to keep track of the seats that are available, based on which you can map those seats when employees raise entry requests.
You can determine whether you need to enable seat allocation for a building or not. This setting is available under the Building section. If the requirement is enabled, you need to determine whether the allocation is to be done manually or by the system. If the seating allocation is by the system, the seat is allocated automatically when the employee entry request raised by the employee is approved. The employee will be provided with the details of the seat in the entry approval email. If the seat allocation is to be handled manually, the Employee Entry Approver, Branch Manager, or the Admin will have to navigate to Employee Safe Entry, go to Seat Allocation, and under Awaiting Allocation needs to manually assign the seats to the employees. Once the seat is assigned, an email will be sent notifying the employees of the seating details.
You can set up the seat sanitization process wherein maintenance requests get raised when a seat has been vacated. The maintenance staff will attend the request to sanitize the seat.
Add seats
To enable seat allocation, you need to add the seats. You can add seats one by one by clicking the (+) icon in the Seats section or import in bulk using the template spreadsheet provided.
To import seats:
- Go to the Seats tab.
- Click More options.
- Select Import data. The template with the format in which you need to add data will be available.
- Add data similar to the template spreadsheet in the given format.
- Import the data in the template. The imported data will be available in the Seats section.
Note: The Branch and building mentioned in the sheet needs to be already available in the app.
Points to note
- The Admins can mark seats as active or inactive. Only seats that are marked as active will be allocated to employees when they raise safe entry requests.
- To mark a seat as inactive: the seat should not be currently assigned to any employee and should not be assigned to an employee who has been approved for safe entry. If a seat that is assigned to an employee needs to be marked as inactive, you need to reassign another seat and them mark this seat an inactive. Similarly, a seat can be deleted only when it is not assigned to any employee.
- The number of seats needs to be greater than or equal to the maximum number of employees allowed.
- Only Admins can add and delete seats and mark them as active and inactive. Whereas, assigning and reassigning them can be done by Admins, Branch Managers, and Employee Entry Approvers.
- If the Maximum Allowed Employee Count is 50 but there are 100 seats, the app is designed in such a way that only the first 50 seats would be used.