Event Settings
In Zoho Calendar, you can configure default event settings that are automatically applied whenever you create an event. These settings help you customize how events are created and managed across your calendars.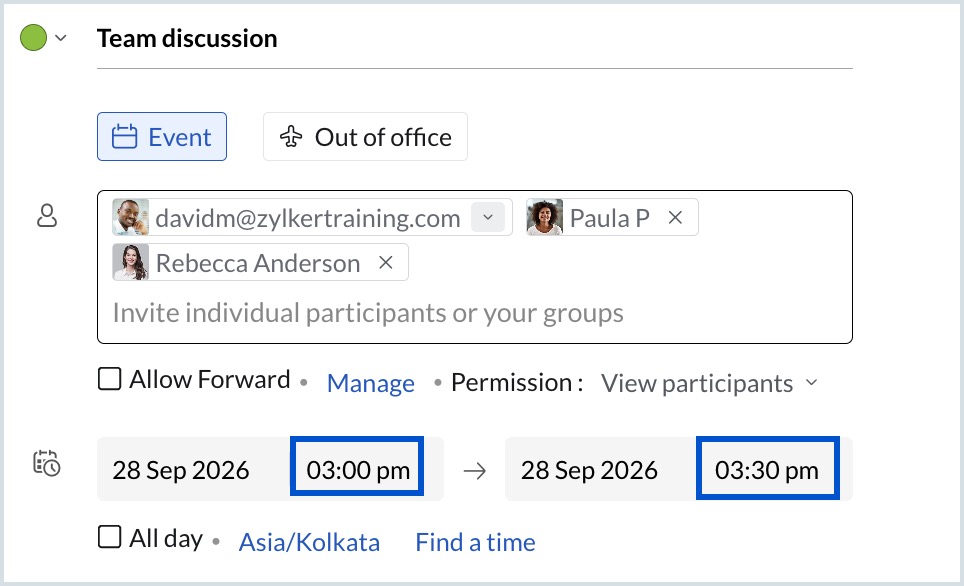
Event duration
Set a default duration for new events. The selected duration is automatically applied when you create an event, but you can modify it anytime by selecting a different start or end time, from the event creation form.
To set the default event duration
- Log in to Zoho Calendar.
- Go to Settings > Calendar > Event Settings.
- Under Default event duration, select the preferred duration from the drop-down list.
Rapid meetings
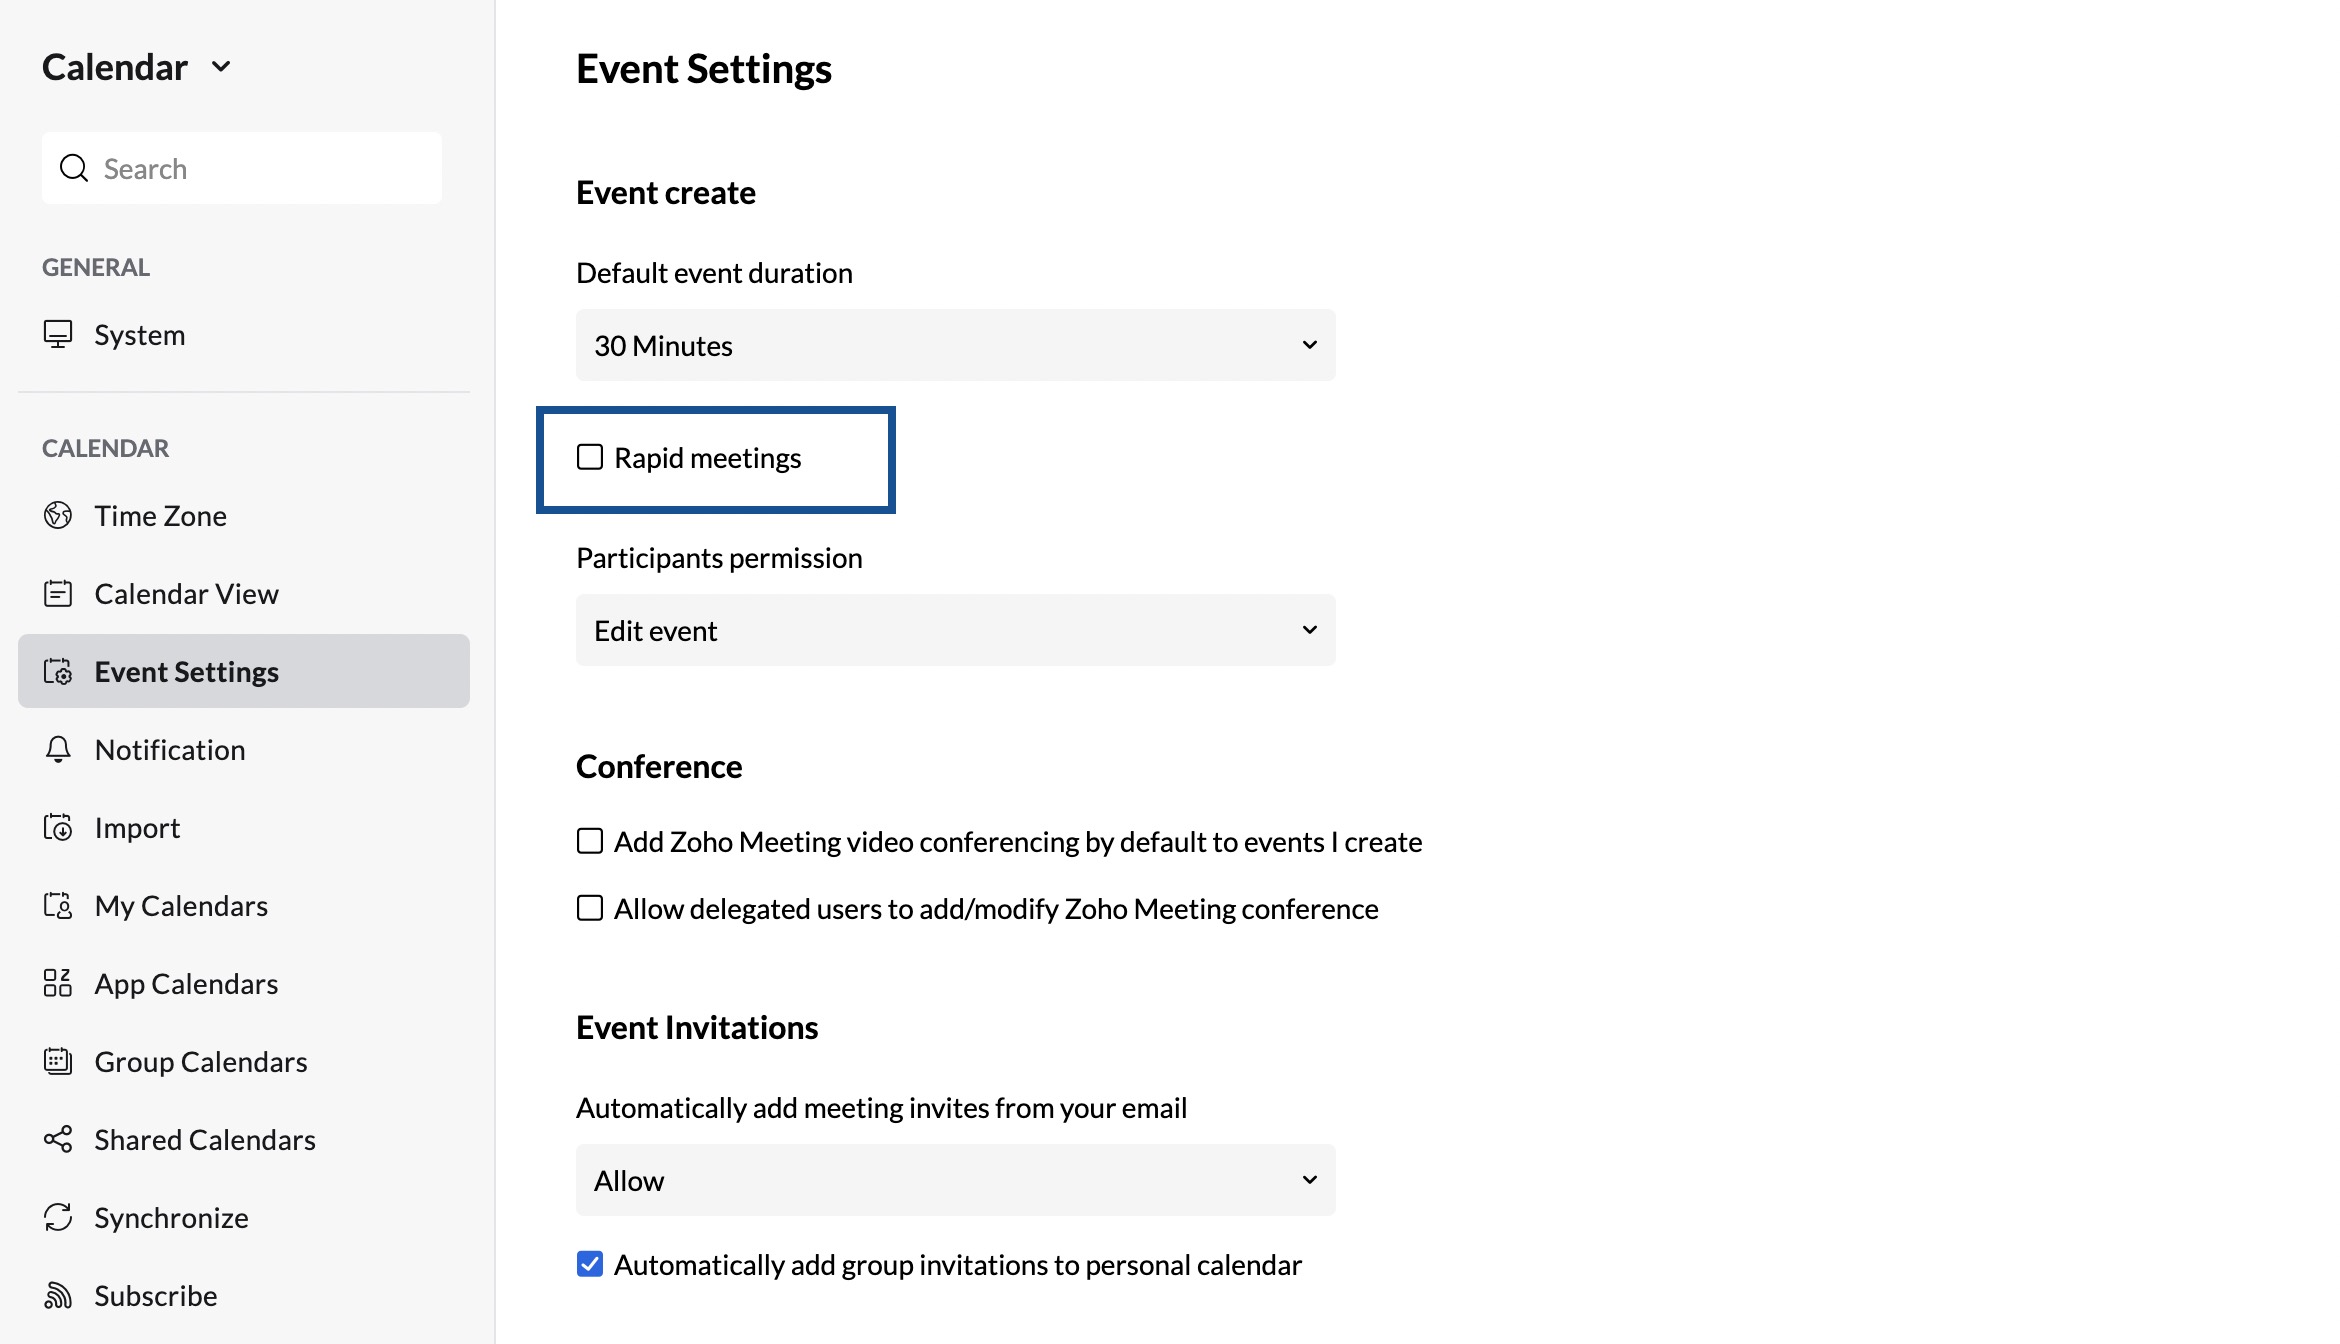
Rapid meetings help you create short breaks between consecutive meetings by automatically reducing the default meeting duration.
When Rapid meetings is enabled:
- Meetings of 45 minutes or less are shortened by 5 minutes.
- Meetings of more than 45 minutes are shortened by 10 minutes.
| Standard duration | Rapid meeting duration |
| 20 minutes | 15 minutes |
| 30 minutes | 25 minutes |
| 45 minutes | 40 minutes |
| 60 minutes | 50 minutes |
| 90 minutes | 80 minutes |
| 120 minutes | 110 minutes |
To enable Rapid meetings
- Log in to Zoho Calendar.
- Go to Settings > Calendar > Event Settings.
- Select the Rapid meetings checkbox.
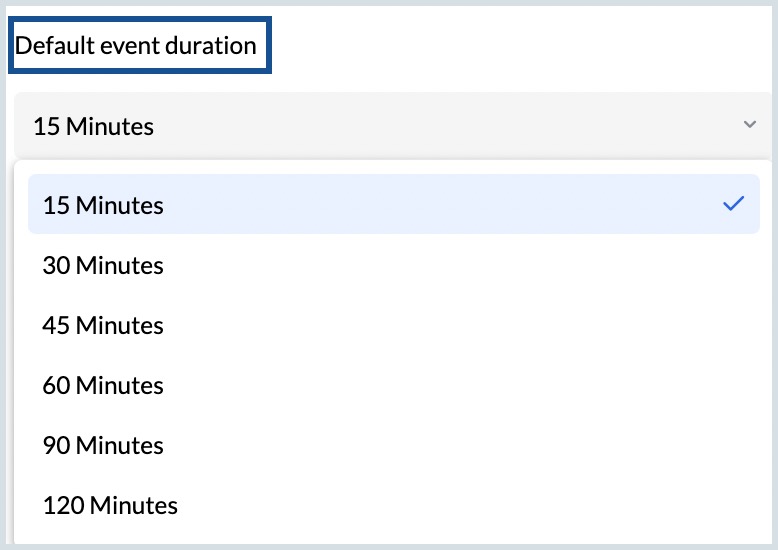
Once enabled, the Default event duration list is automatically updated with the shortened meeting durations.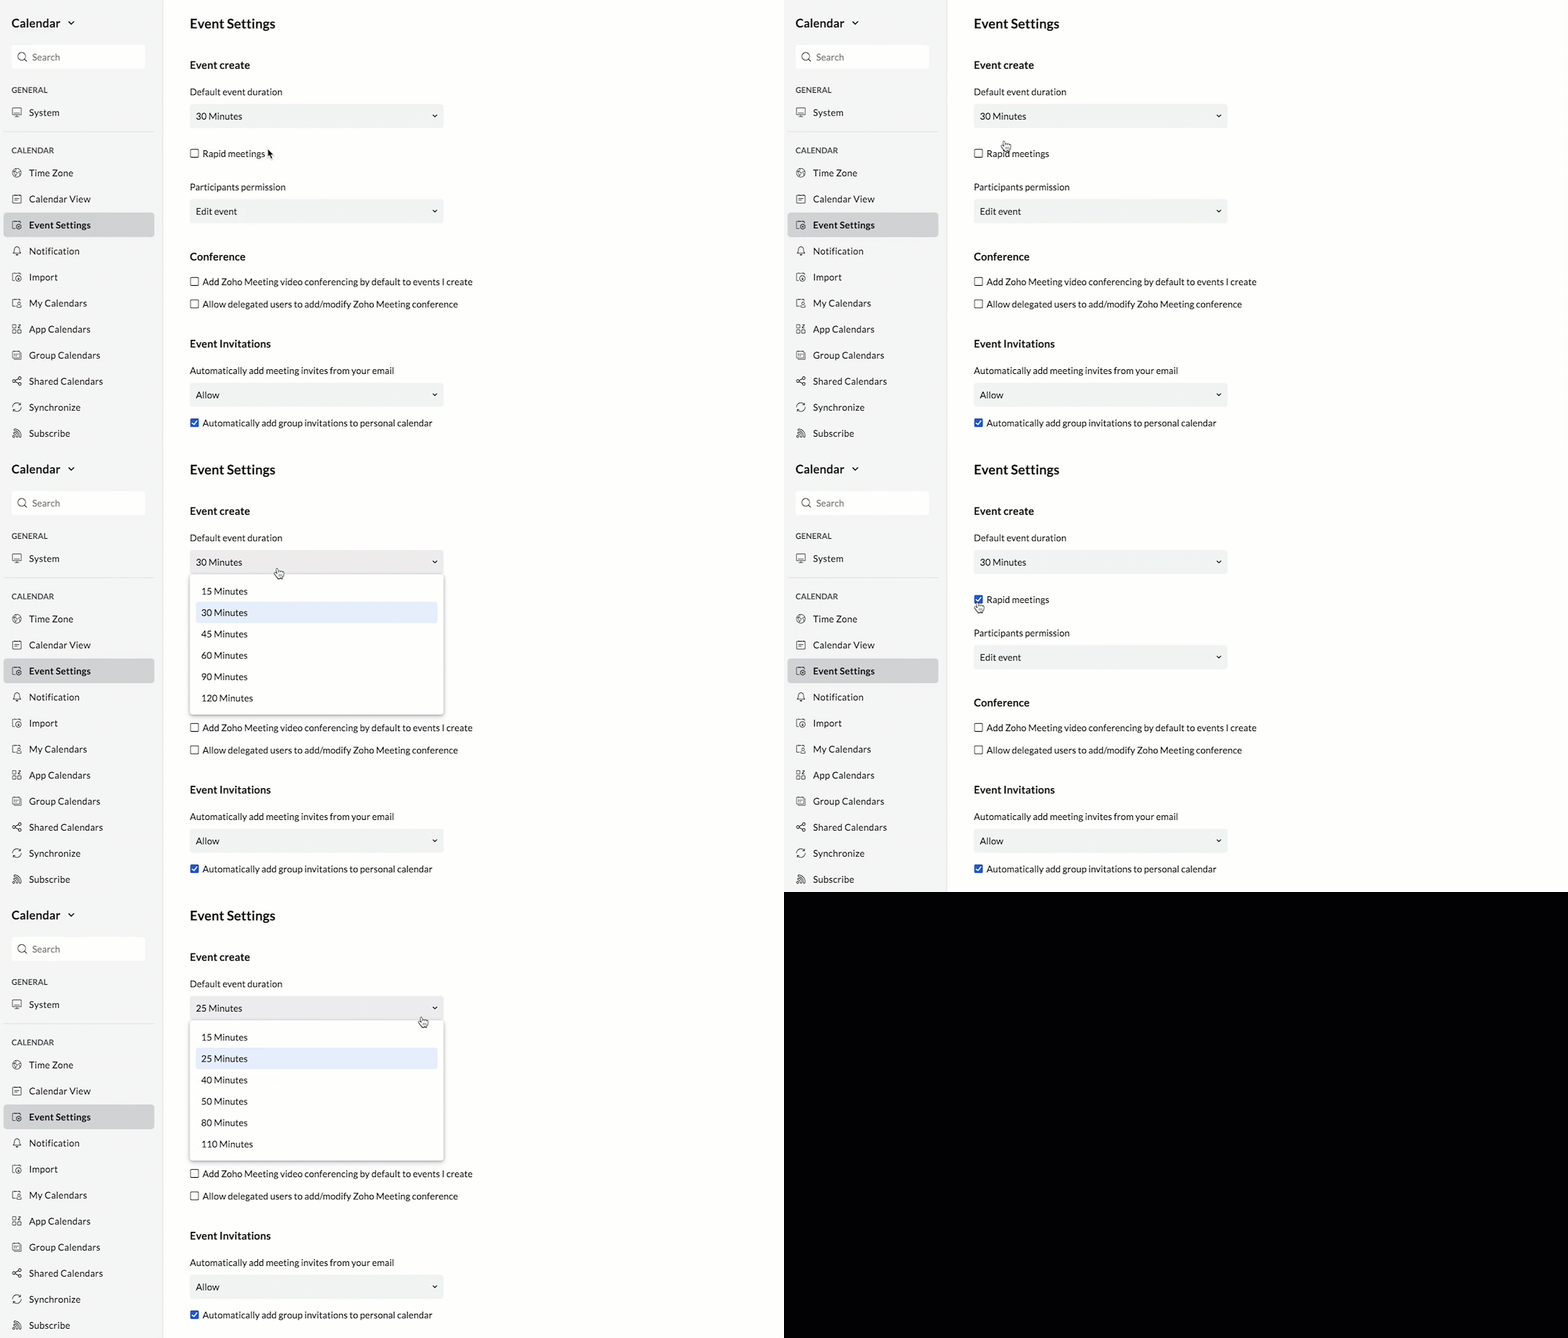
Default Calendar
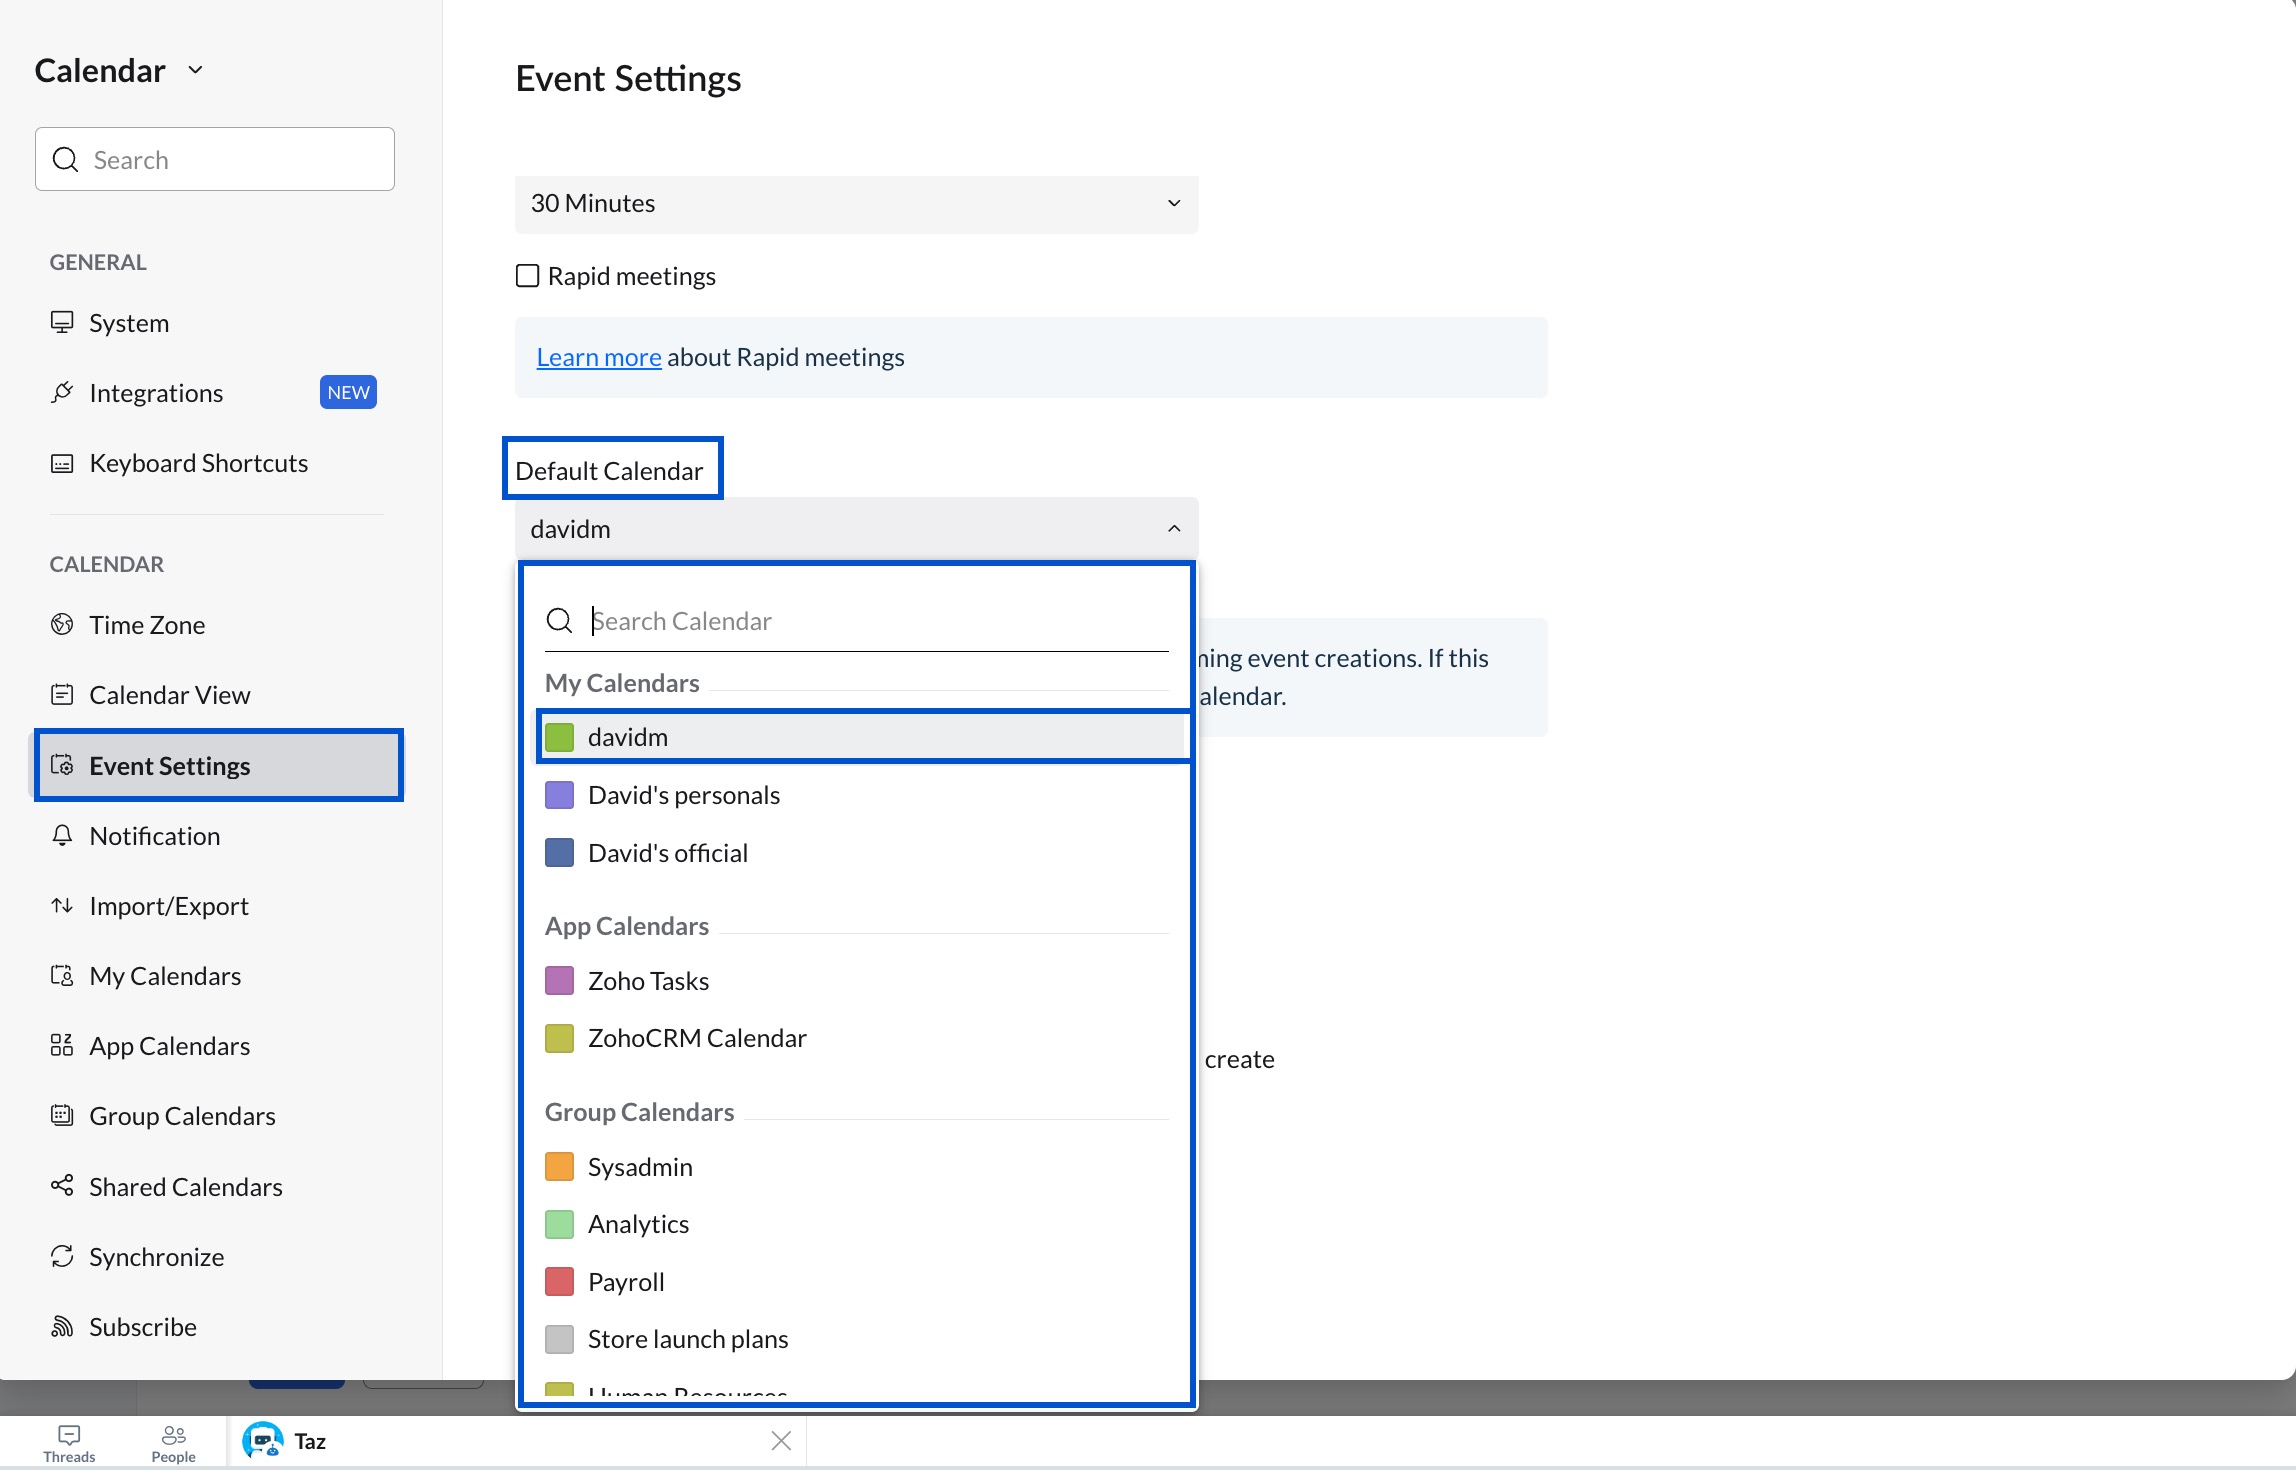
Choose the calendar that should be selected by default whenever you create a new event. You can select any calendar from:
- My Calendars
- App Calendars
- Group Calendars
- Shared Calendars
The selected calendar is used by default until you choose a different calendar while creating an event.
To set the default calendar
- Log in to Zoho Calendar.
- Go to Settings > Calendar > Event Settings.
- Under Default calendar, select the calendar you want to use by default.
Note
If the selected default calendar is removed, your Primary Calendar is automatically set as the default calendar.
Participant Permissions
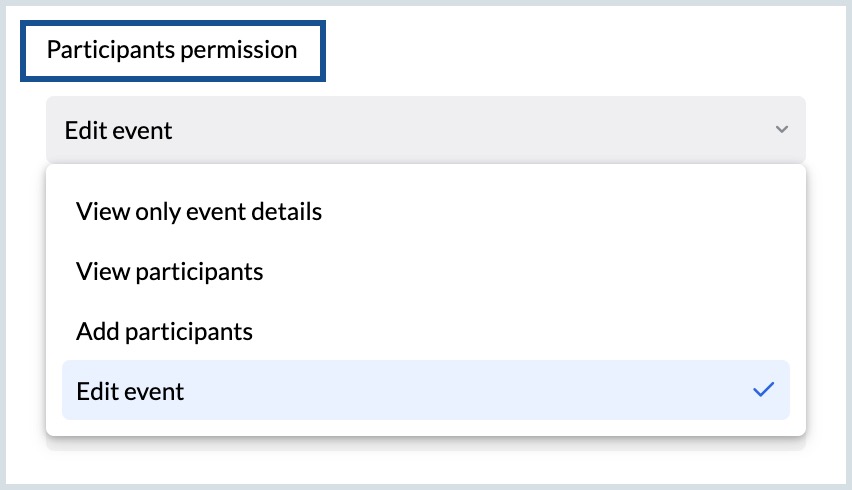
Participant permissions help the host of an event to limit the participant access to view, edit, delete or add participants to the event. You can set a default option in your calendar settings and that will be reflected when you create an event across any calendar. You can change your preference in the create event form when you want to change the participant permission.
To set default participant permissions
- Log in to Zoho Calendar.
- Go to Settings > Calendar > Event Settings.
- Under Participant permissions, choose the preferred permission from the drop-down list.
Conference
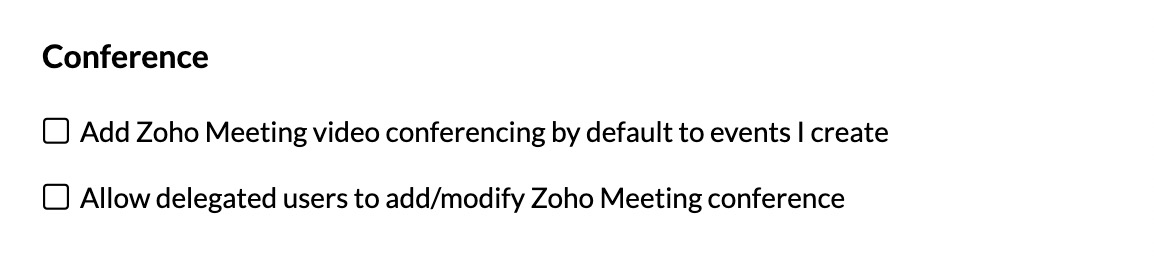
You can configure Zoho Meeting as the default conferencing option for events that you create.
Add Zoho Meeting by default
Enable this option to automatically add a Zoho Meeting conference link to every new event.
To enable it:
- Log in to Zoho Calendar.
- Go to Settings > Calendar > Event Settings.
- Select Add Zoho Meeting video conferencing by default to events I create.
Allow delegated users to manage conferences
If you have delegated users, you can allow them to add or modify the Zoho Meeting conference associated with your events.
To enable it:
- Log in to Zoho Calendar.
- Go to Settings > Calendar > Event Settings.
- Select Allow delegated users to add/modify Zoho Meeting conference.
Other Event Settings
Event invitations
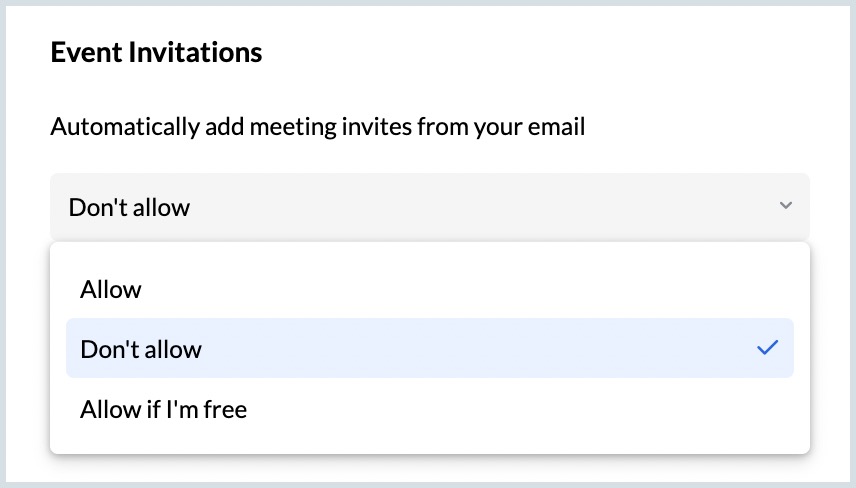
You can control how meeting invitations received through email are added to your calendar.
Automatically add meeting invitations from email
Choose whether meeting invitations received through email should be automatically added to your calendar.
To configure this setting:
- Log in to Zoho Calendar.
- Go to Settings > Calendar > Event Settings.
- Under Automatically add meeting invites from your email, choose the preferred option from the drop-down list.
Automatically add group invitations
Enable this option to automatically add invitations received for your groups to your personal calendar.
To enable it:
- Log in to Zoho Calendar.
- Go to Settings > Calendar > Event Settings.
- Select Automatically add group invitations to personal calendar.

Events from Zoho Mail
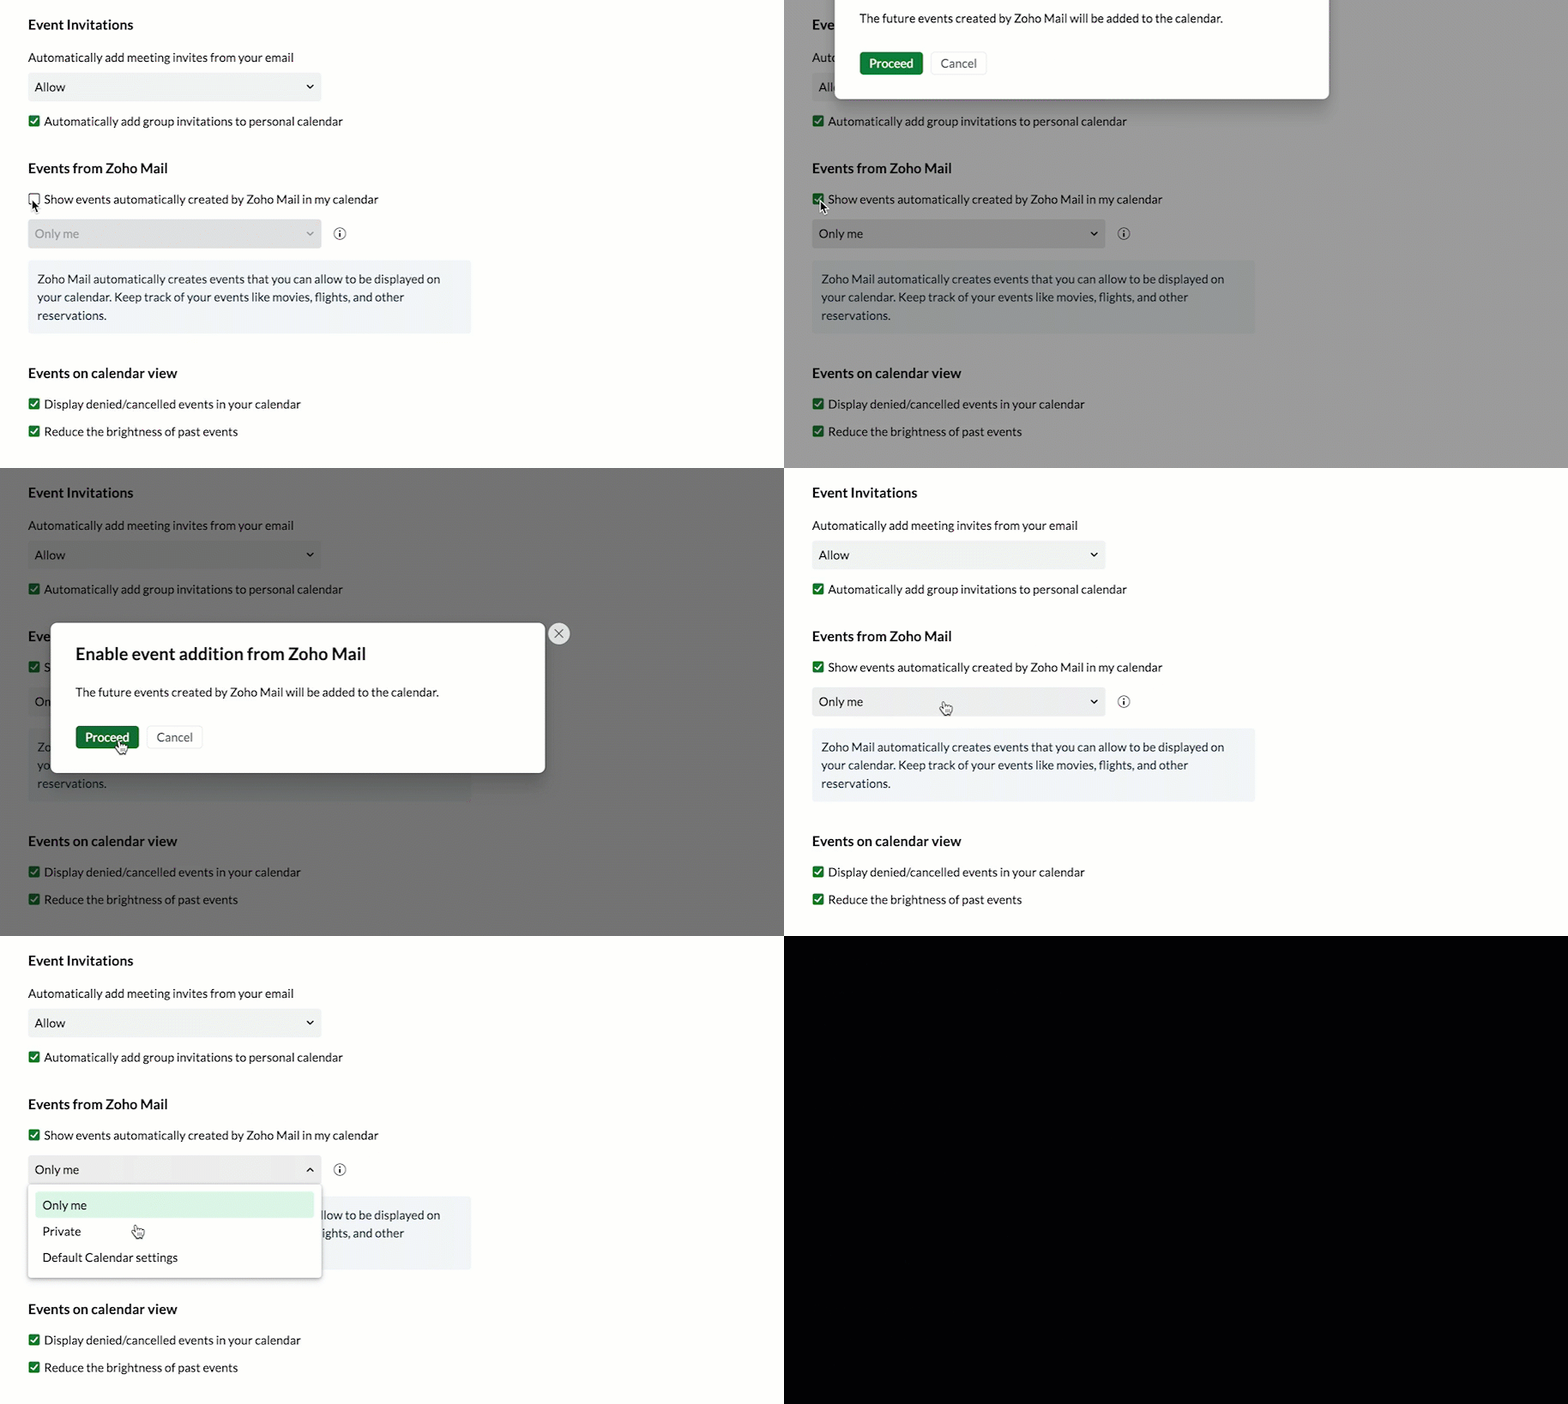
Most of our day-to-day activities flow through our emails. From travel tickets to movie reservations, we receive a plethora of information in emails that we need to keep track of. The Events from Zoho Mail feature enables you to retrieve important information from your email and add it to your calendar.
To choose your preference,
- Go to Settings > Calendar > Event Settings.
- Select the checkbox- "show events automatically created by Zoho mail in calendar". All the events from Zoho mail will be added to the primary calendar.
- Select Proceed, in the 'Enable event addition from Zoho Mail' pop-up.
- You may also choose who can view these events from your calendar.
- Only me- You are the only one who can see the events in your primary calendar. Even if your calendar is delegated, the delegatee cannot view this event.
- Private- Anyone with access to your calendar can view that your calendar is blocked for the specified period. But they cannot view the event details.
- Default calendar permissions- Your default calendar permissions will be applied.
Events on Calendar view
Display denied/cancelled events
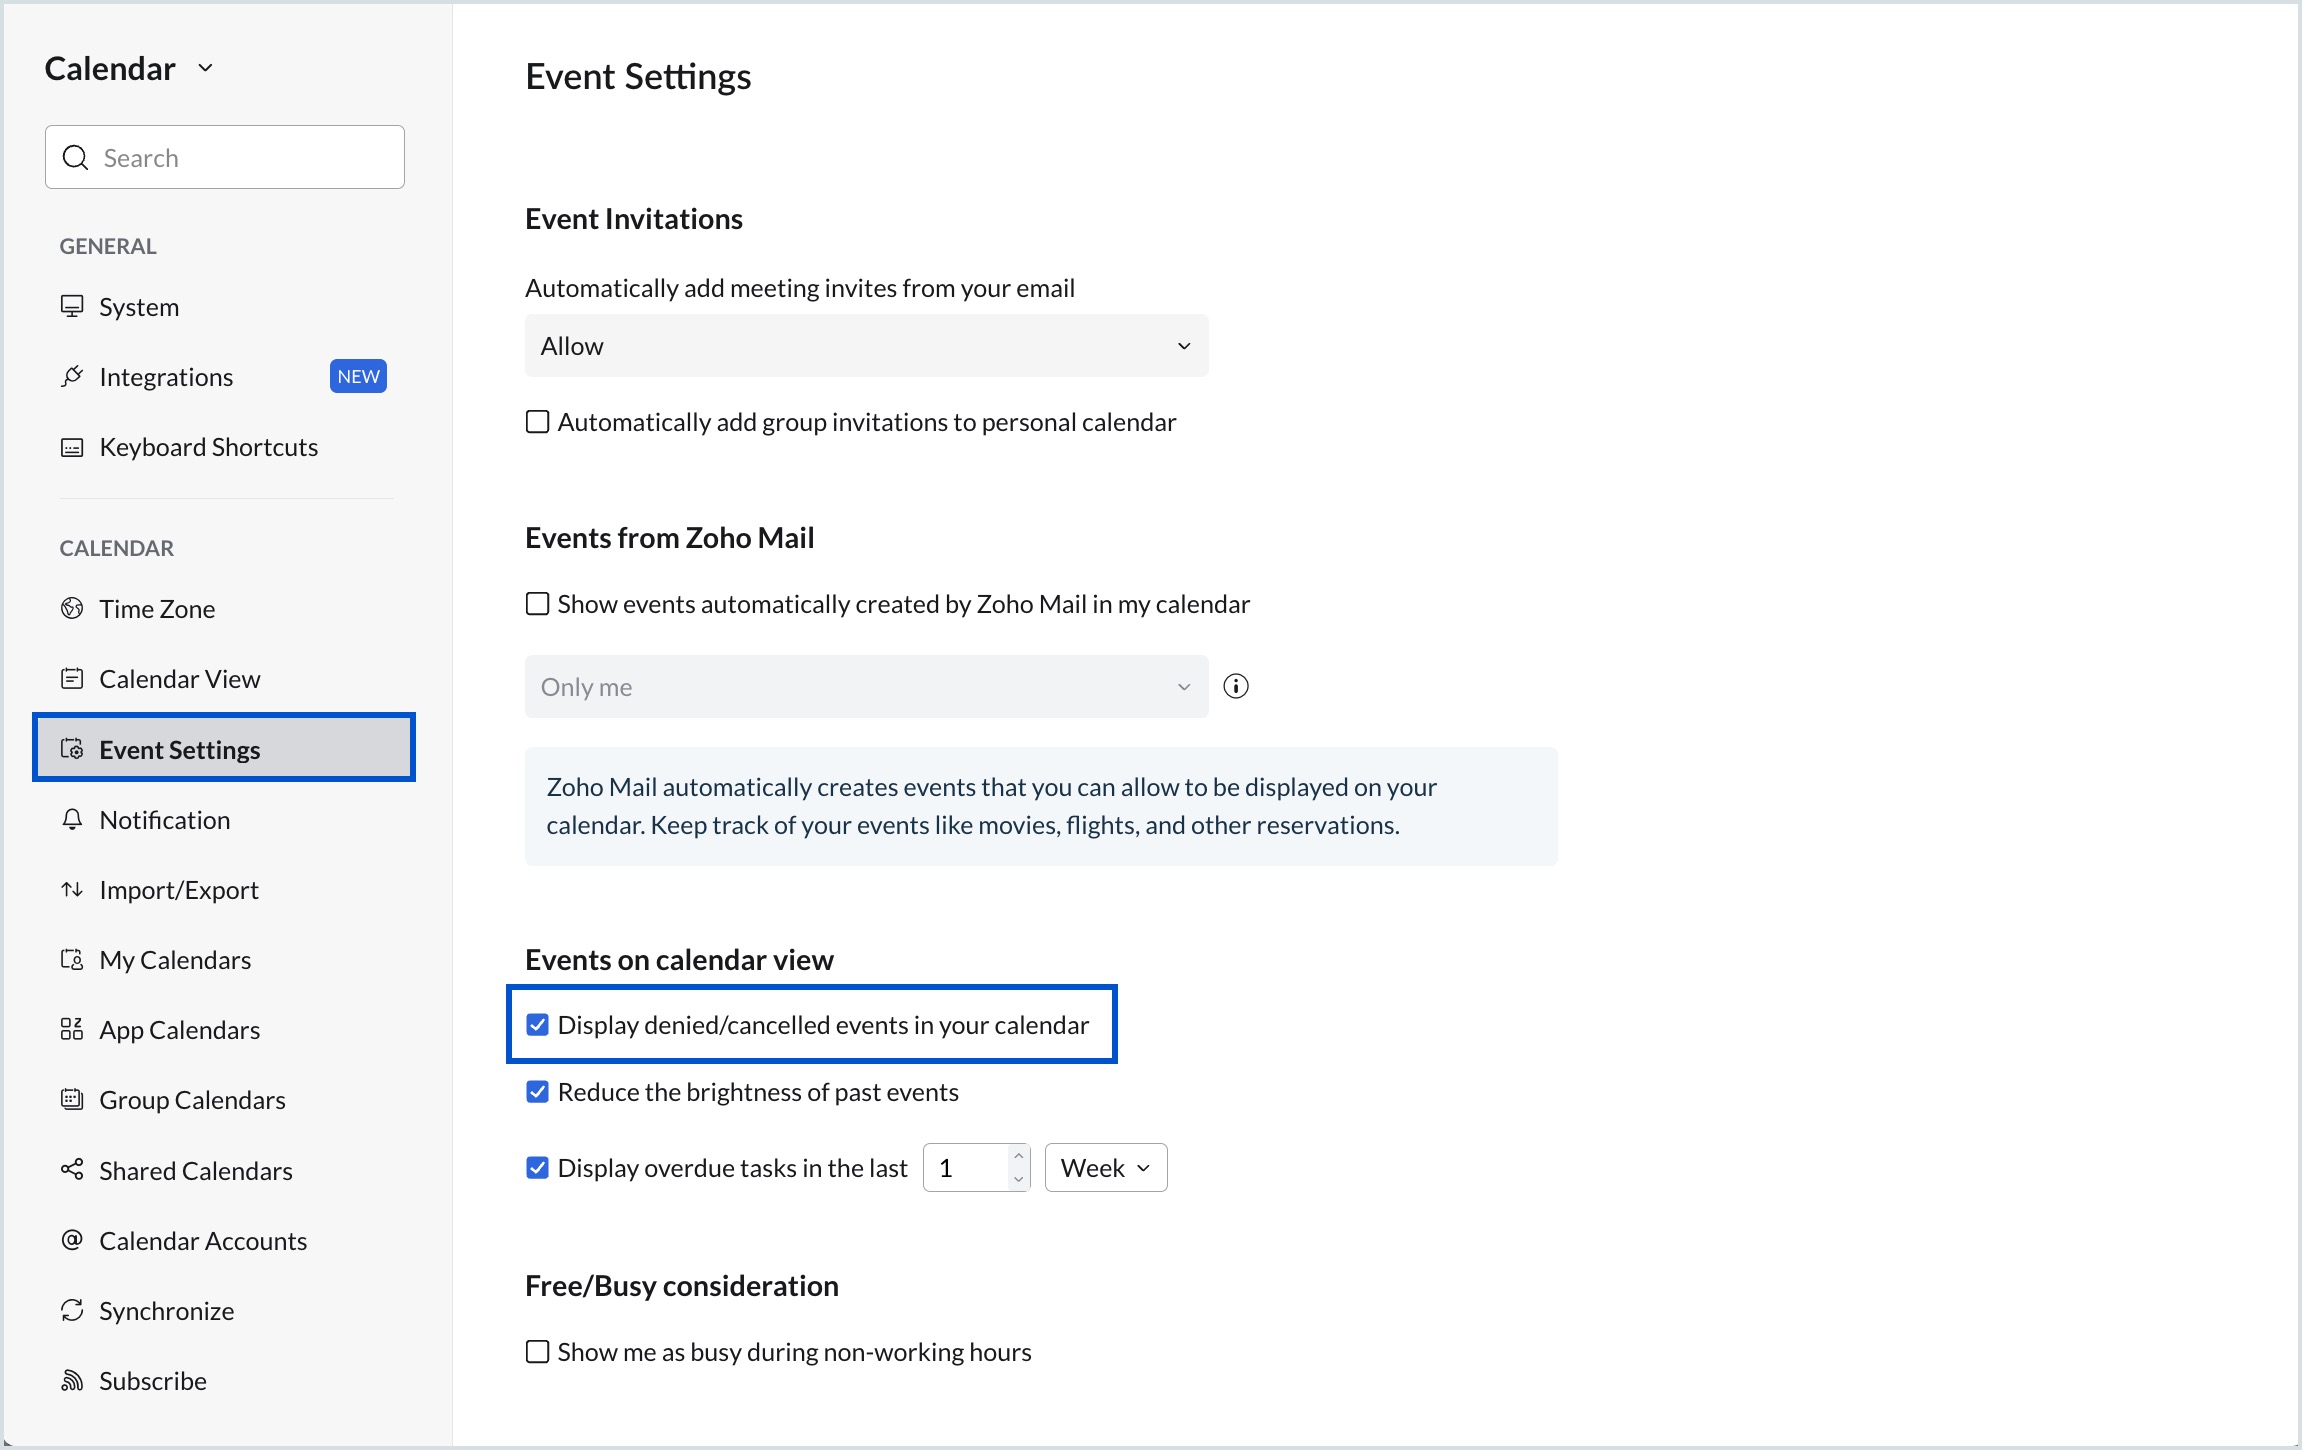
You can choose to display or hide Denied/Cancelled Events in your calendar view.
To configure this option:
- Log in to Zoho Calendar.
- Go to Settings > Calendar > Event Settings.
- Under Events on calendar view, select or clear the Display denied/cancelled events in your calendar checkbox.
Reduce the brightness of past events
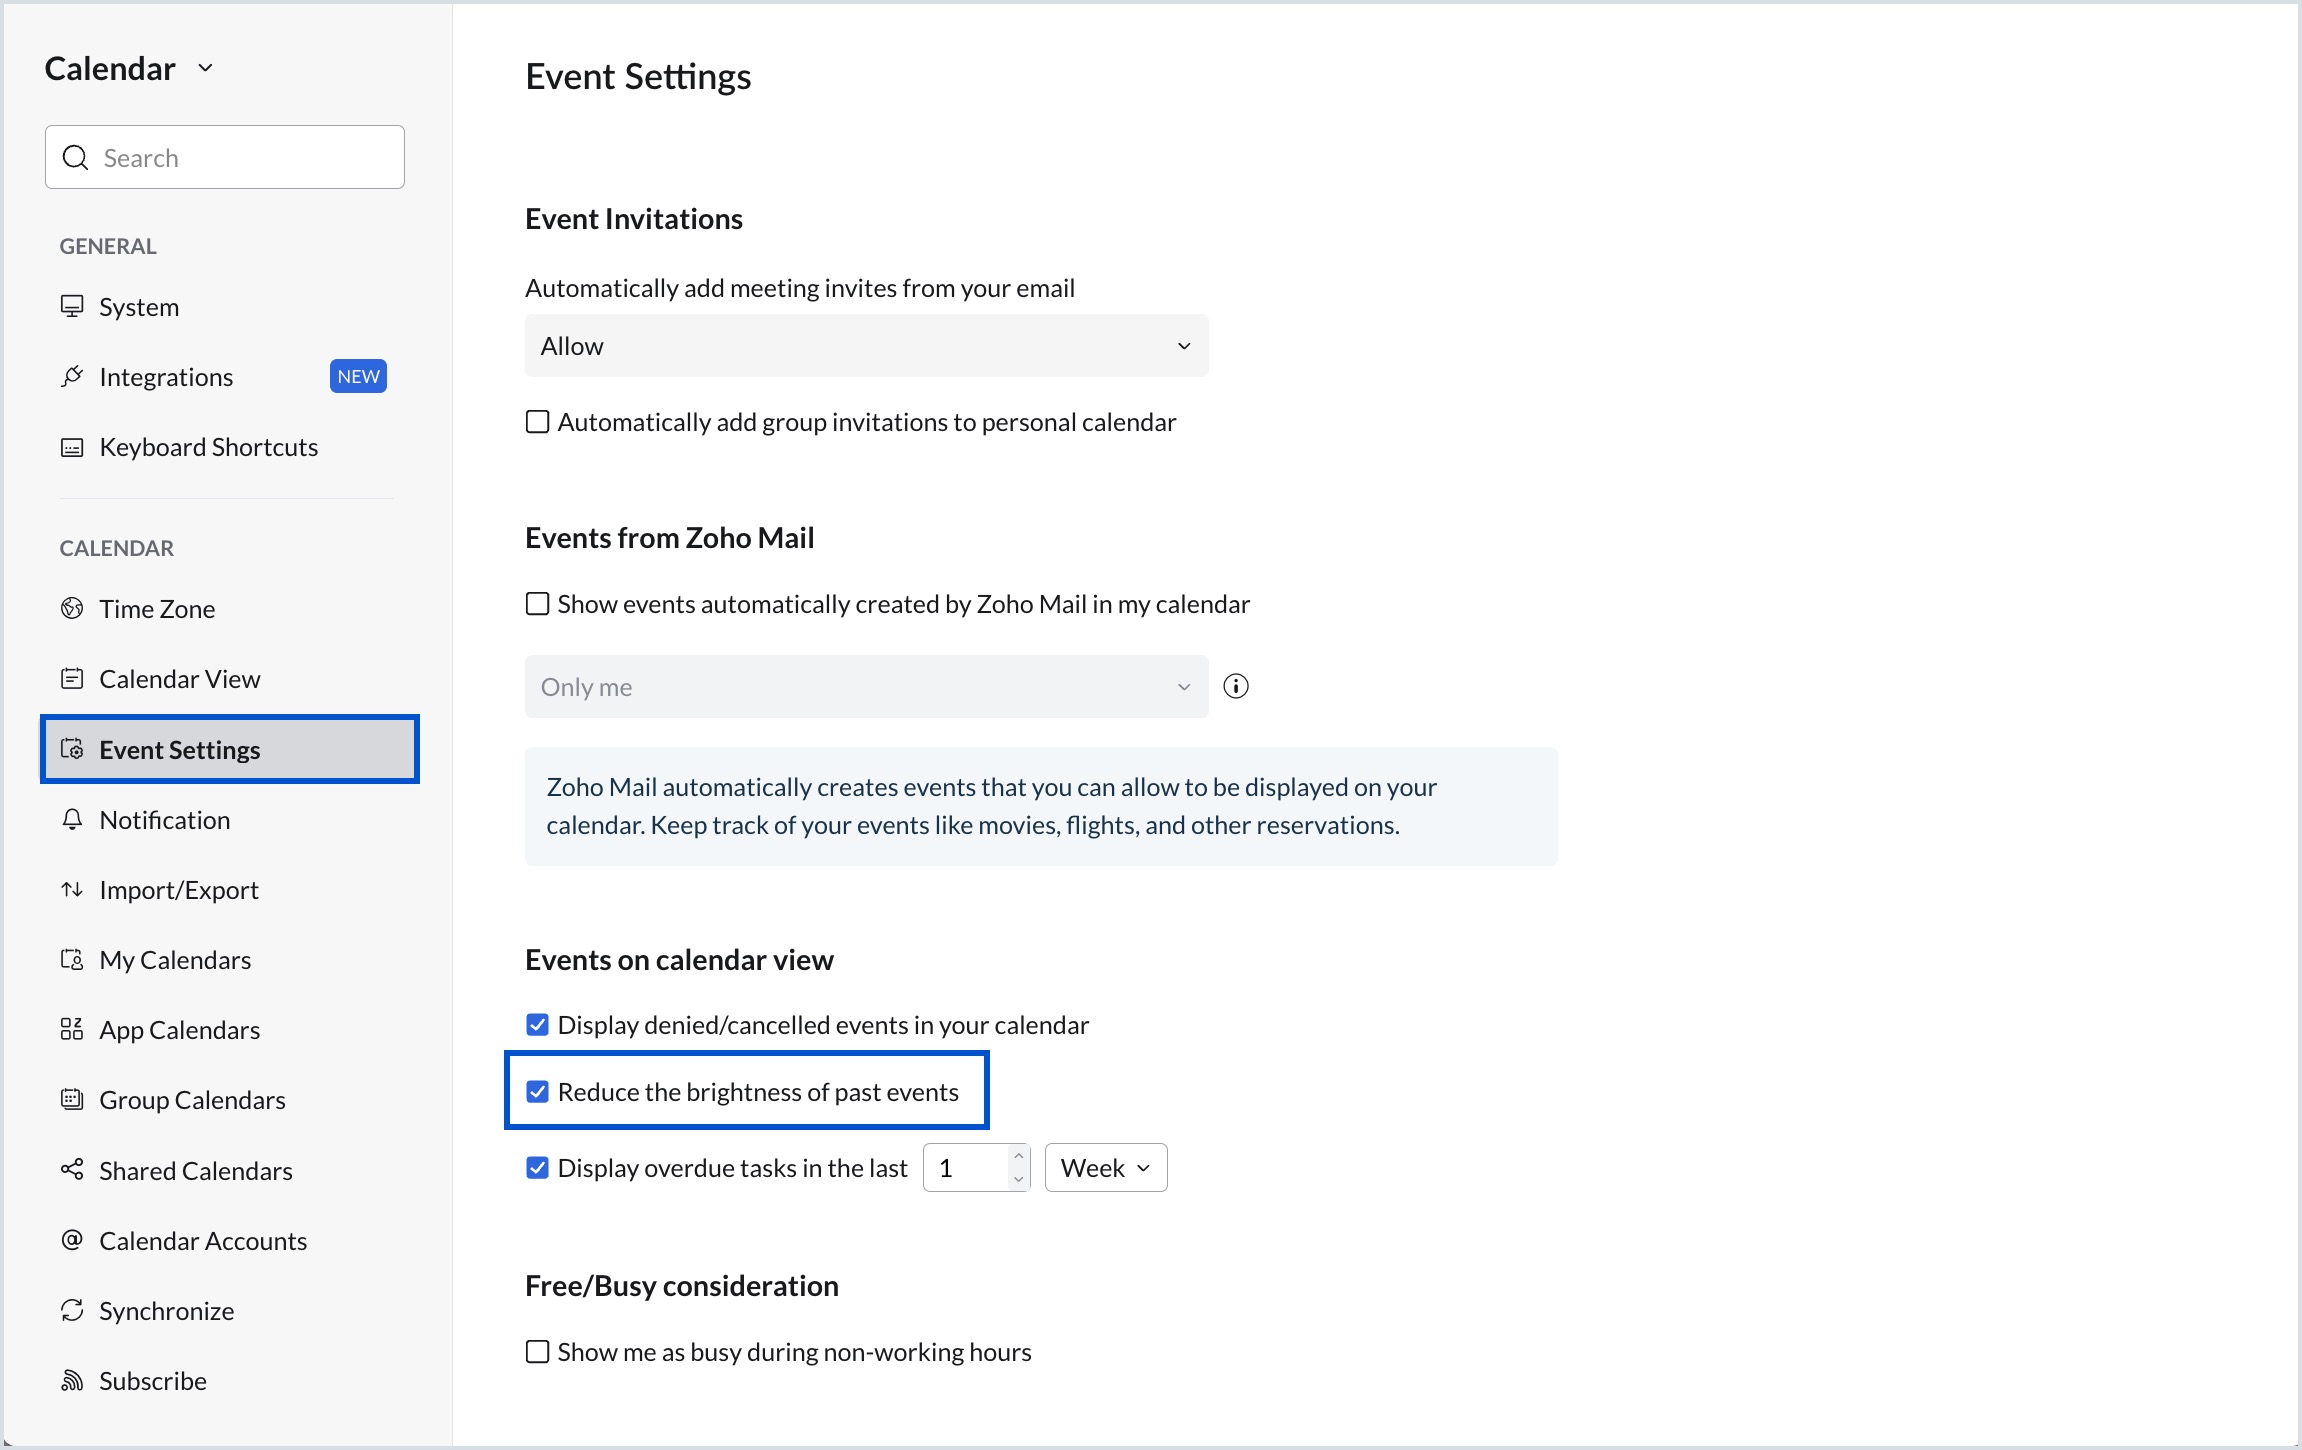
You can visually distinguish past events from upcoming events by reducing the brightness of past events in your calendar.
To configure this option:
- Log in to Zoho Calendar.
- Go to Settings > Calendar > Event Settings.
- Under Events on calendar view, select or clear the Reduce the brightness of past events checkbox.
Display overdue tasks
You can choose to display overdue tasks from a specific time period in your calendar view. Specify the duration to control how far back overdue tasks should be displayed.
To configure this option:
- Log in to Zoho Calendar.
- Go to Settings > Calendar > Event Settings.
- Under Events on calendar view, select the Display overdue tasks in the last checkbox.
- Enter the required value and choose a time period (Day, Week, Month, or Year) from the drop-down list.
- Clear the checkbox if you do not want overdue tasks to be displayed in your calendar.
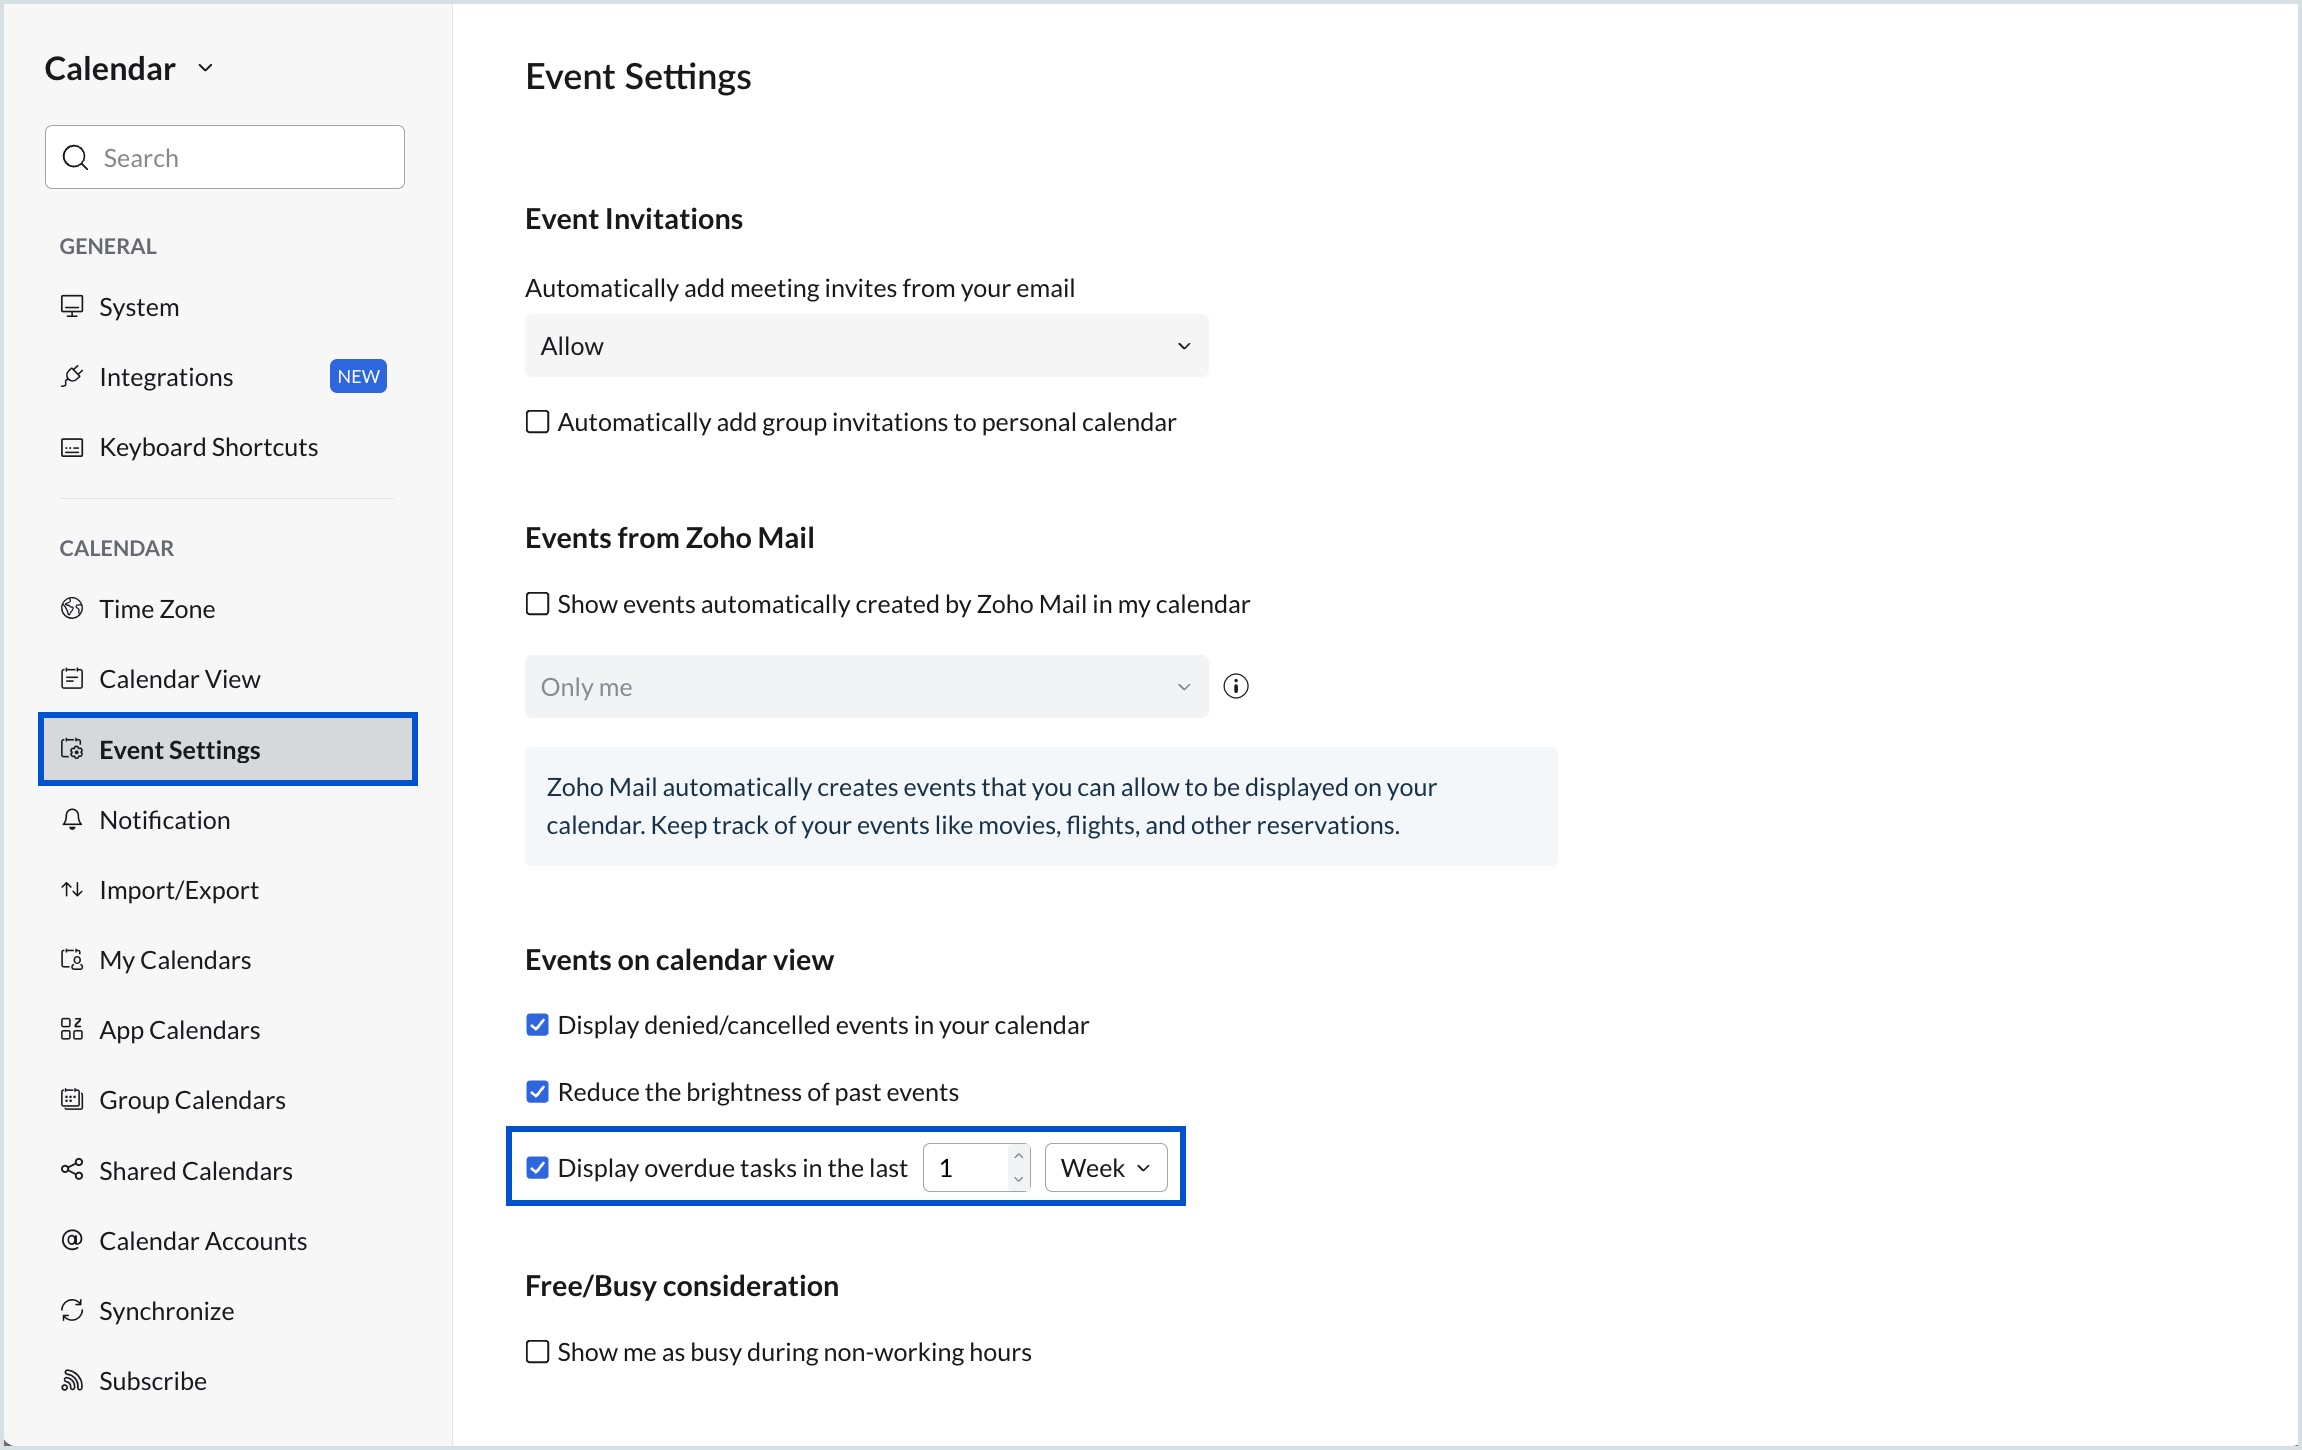
Example: If you set the value to 1 Week, only tasks that became overdue within the last week will be displayed in your calendar.
Note
- Overdue tasks are displayed only in the Day, Week, and Month calendar views. They are not available in the Year and Agenda views.
- The time period can be set only for up to 1 year. You can view overdue tasks in your calendar only for tasks that were created within the last 1 year.
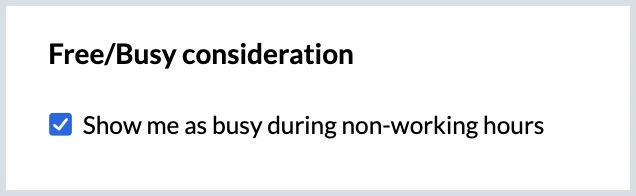
Free/busy consideration
You can choose to appear busy during your non-working hours when others check your availability while scheduling an event with you.
To enable this option:
- Log in to Zoho Calendar.
- Go to Settings > Calendar > Event Settings.
- Under Free/Busy consideration, select the Show me as busy during non-working hours checkbox.