Windsurf
Configure Zoho CRM MCP servers in Windsurf.
Follow these steps to set up Zoho CRM MCP servers in Windsurf.
- Open the Command Palette with
⌘ Shift P(on macOS) /Ctrl Shift P(on Windows/Linux) and search for Windsurf: MCP Registry. Click on the Settings icon near the Installed MCPs section.
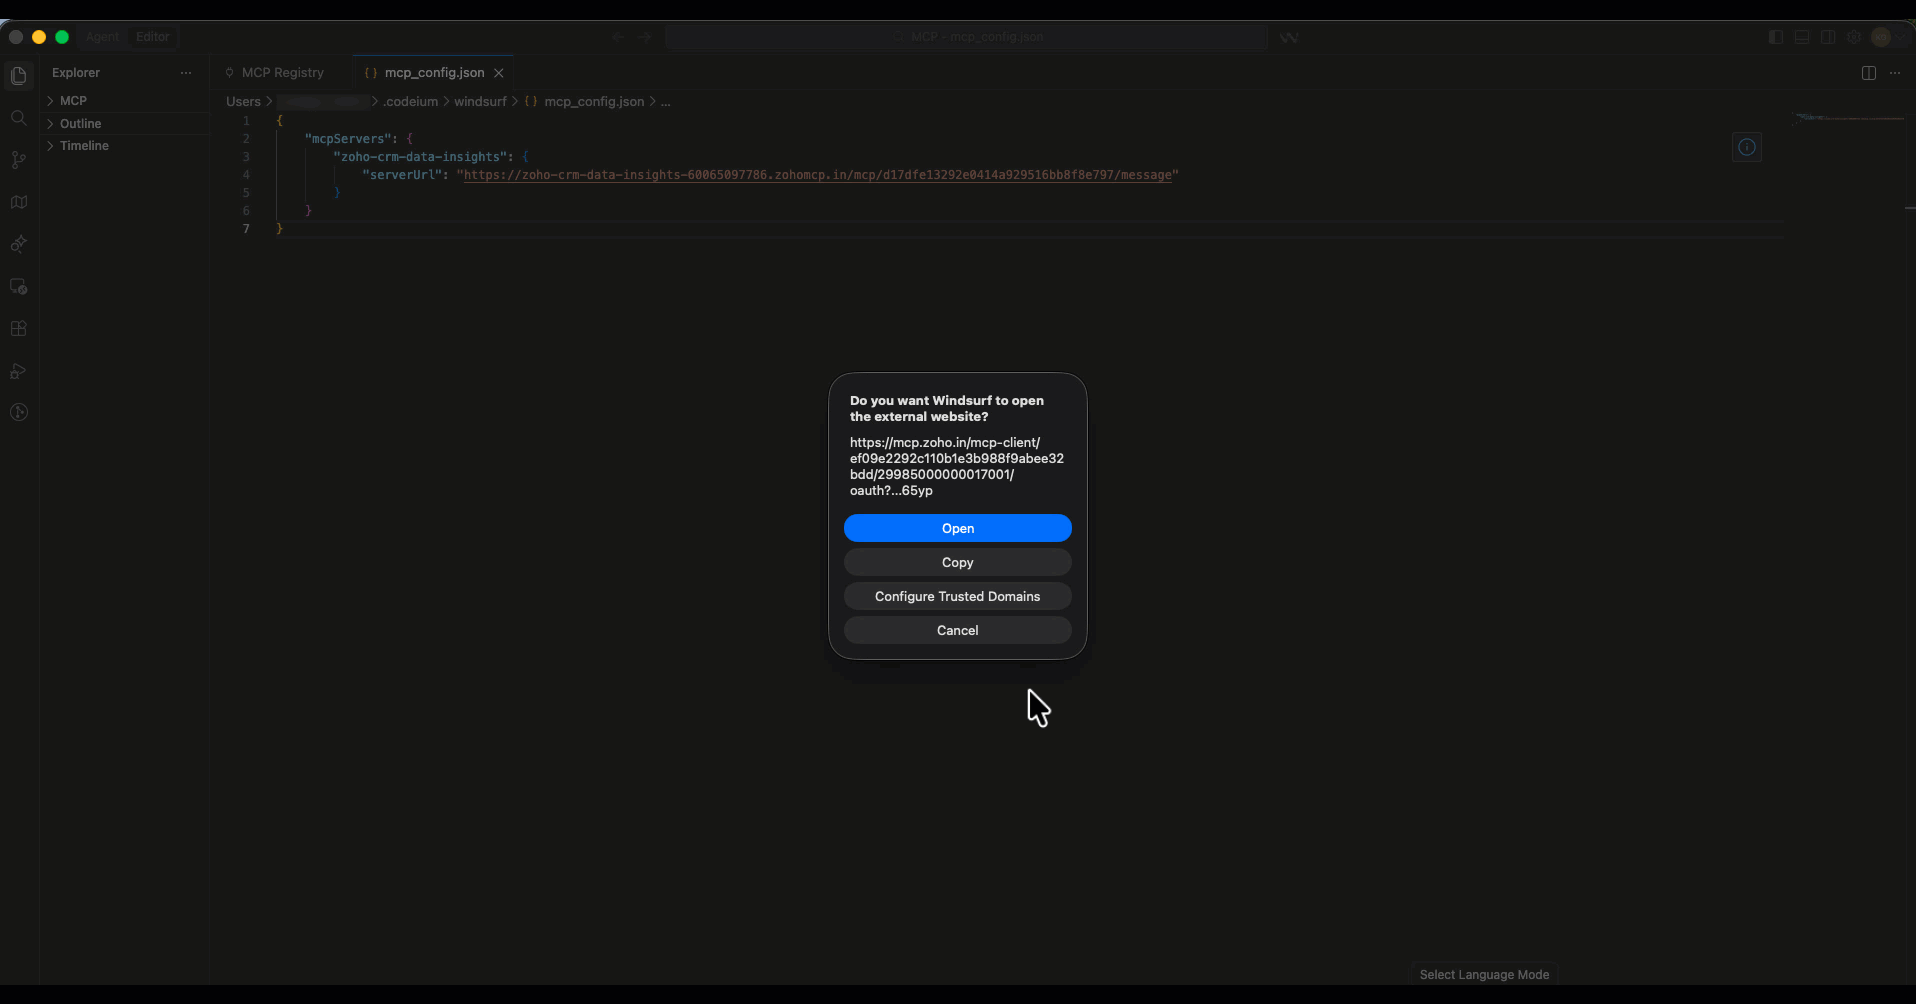
- This will open the
~/.codeium/windsurf/mcp_config.jsonconfiguration file. Copy and paste the following configuration:
{
"mcpServers": {
"zoho-crm-data-insights": {
"serverUrl": "https://zoho-crm-data-insights-60065097786.zohomcp.in/mcp/d17dfe13292e0414a929516bb8f8e797/message"
}
}
}{
"mcpServers": {
"zoho-crm-data-operations": {
"serverUrl": "https://zoho-crm-data-operations-60065097786.zohomcp.in/mcp/fe46ddbc48fec3713c8754cea8ec9ac5/message"
}
}
}{
"mcpServers": {
"zoho-crm-module-customisation": {
"serverUrl": "https://zoho-crm-module-customization-60065097786.zohomcp.in/mcp/8057776f5d548a33b892c533d4278d17/message"
}
}
}{
"mcpServers": {
"zoho-crm-automation": {
"serverUrl": "https://zoho-crm-automation-60065097786.zohomcp.in/mcp/c139be028c224f75a9077e6473a62f3b/message"
}
}
}If the file already has other servers, merge this into the existing
mcpServersobject.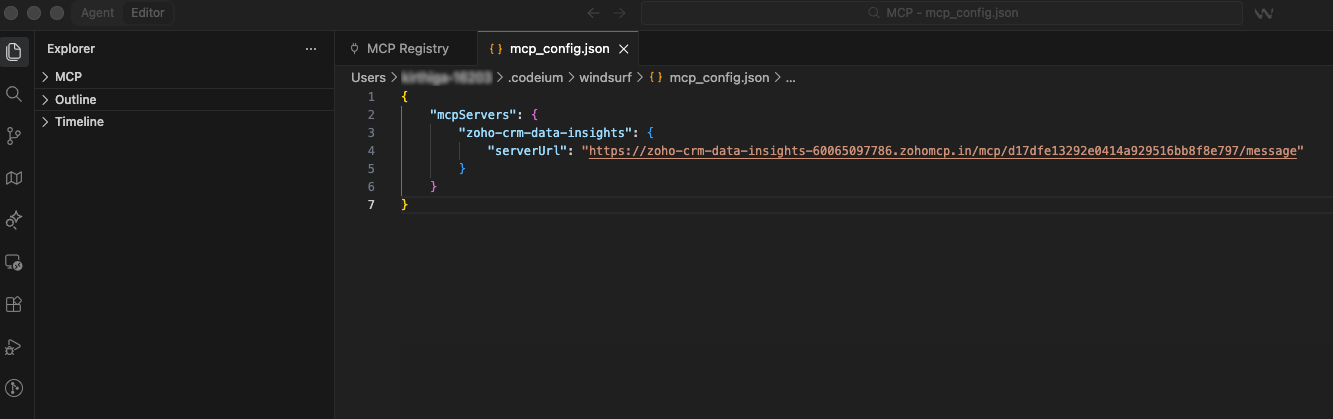
Save the configuration file and a pop-up prompts you to open the URL (or copy and paste it) to authenticate your CRM organization.