Inserting Images and Tables
Table of Contents
Insert Images
You can insert images in your email content or embed images in your signature using the Insert Image icon.
- In the formatting bar, click the Insert Image icon.

- You can either choose to upload an image from your desktop or link an image from any internet web page.
- Click Upload from Disk option, and click the box below to choose a file from your desktop.
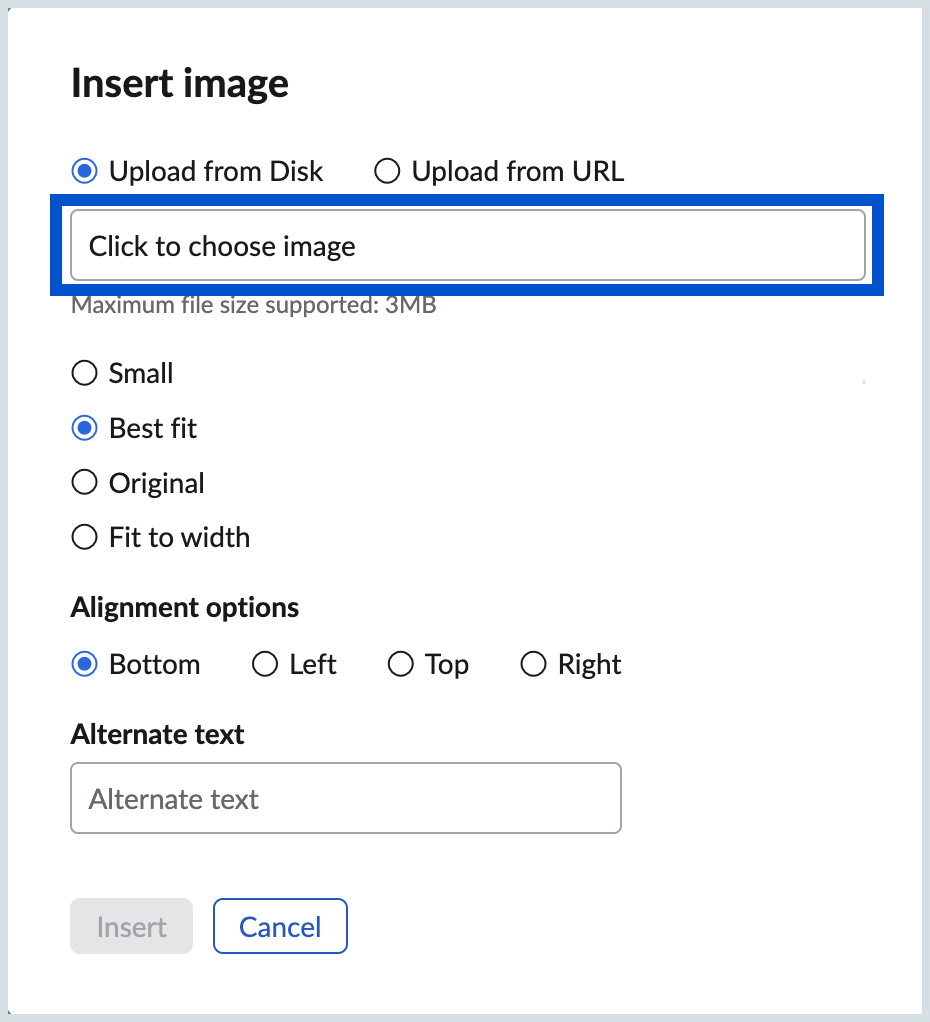
- The image can be in the GIF/ JPG/ PNG formats and can be a maximum of 3 MB in size.
- After the file is uploaded, the preview of the image is displayed in the Image Preview box.
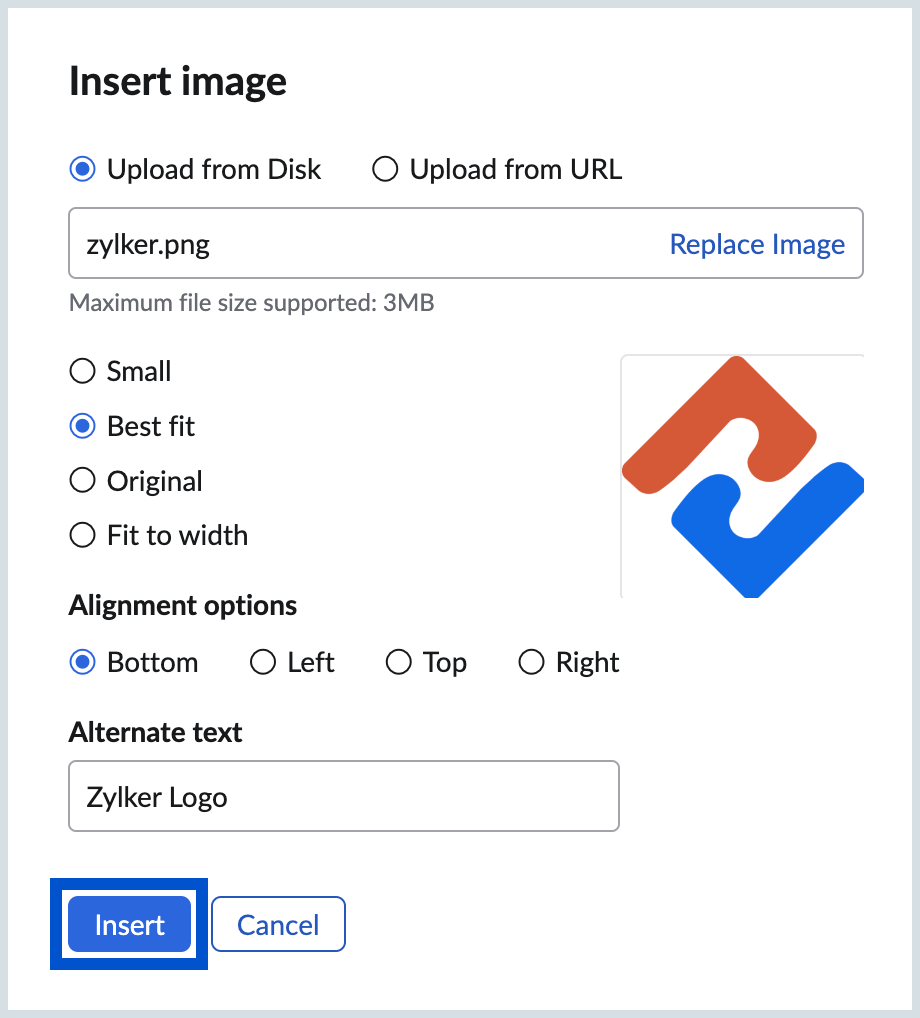
- Click Insert to insert the image in the editor area.
- The size can be chosen as 'Small', 'Best Fit' or 'Original' based on the requirement.
- However, the image may be presented in its original size, in some email clients, making it appear incorrectly. Hence you can resize the images before embedding into the email, for better clarity at the recipient end.
- You can choose the preferred position of the image with respect to the text from the available Alignment options - Left, Right, Bottom, Top.
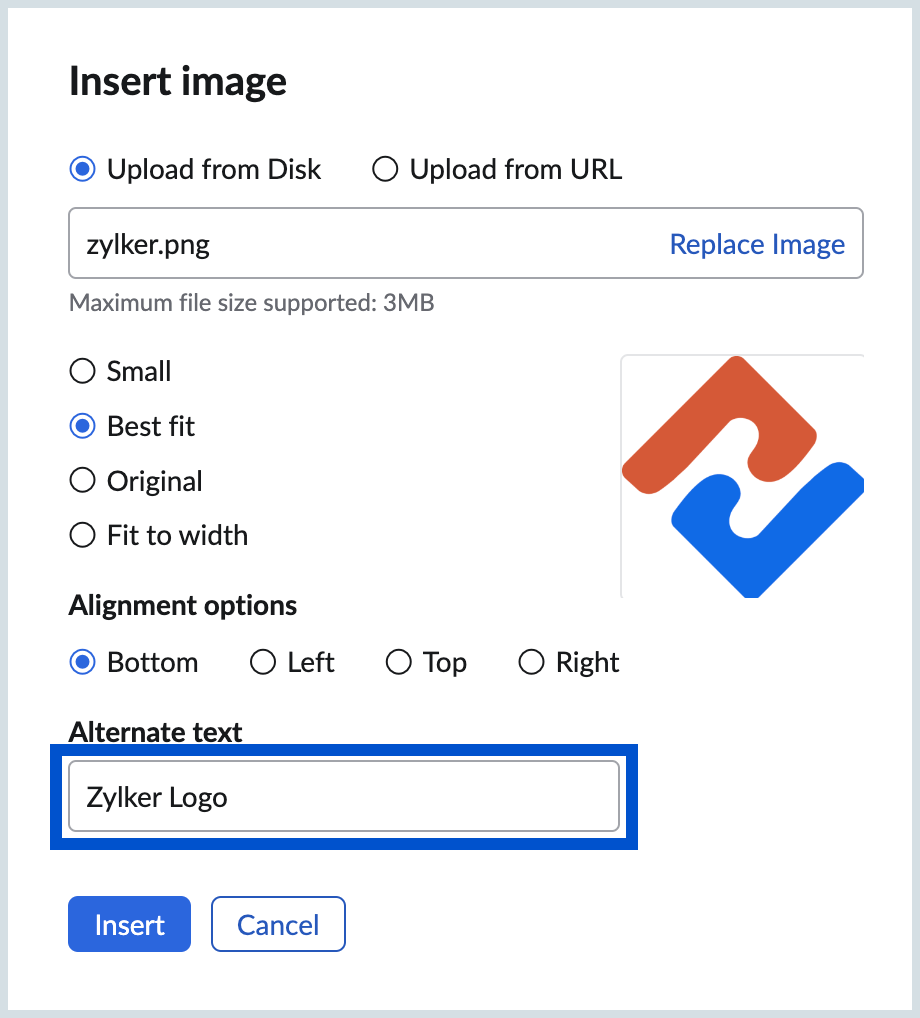
Moreover, you can add Alternate text for images.
Instead of inserting the image, you can also paste a copied image into the email compose area. To paste an image that you've copied from elsewhere, right-click in the compose area and choose Paste from the options listed.
Insert Image Options
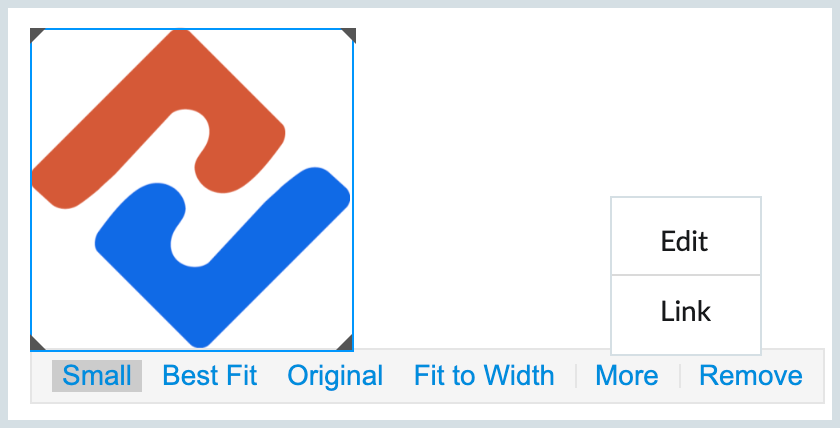
Click on already embedded images to view the edit options for the image. Once you click on the image, the following options will appear:
- Size of the image - You can choose from Small, Best Fit or Original even after embedding the image.
- Remove - Deletes the embedded image.
- More - Includes options to edit and hyperlink the image.
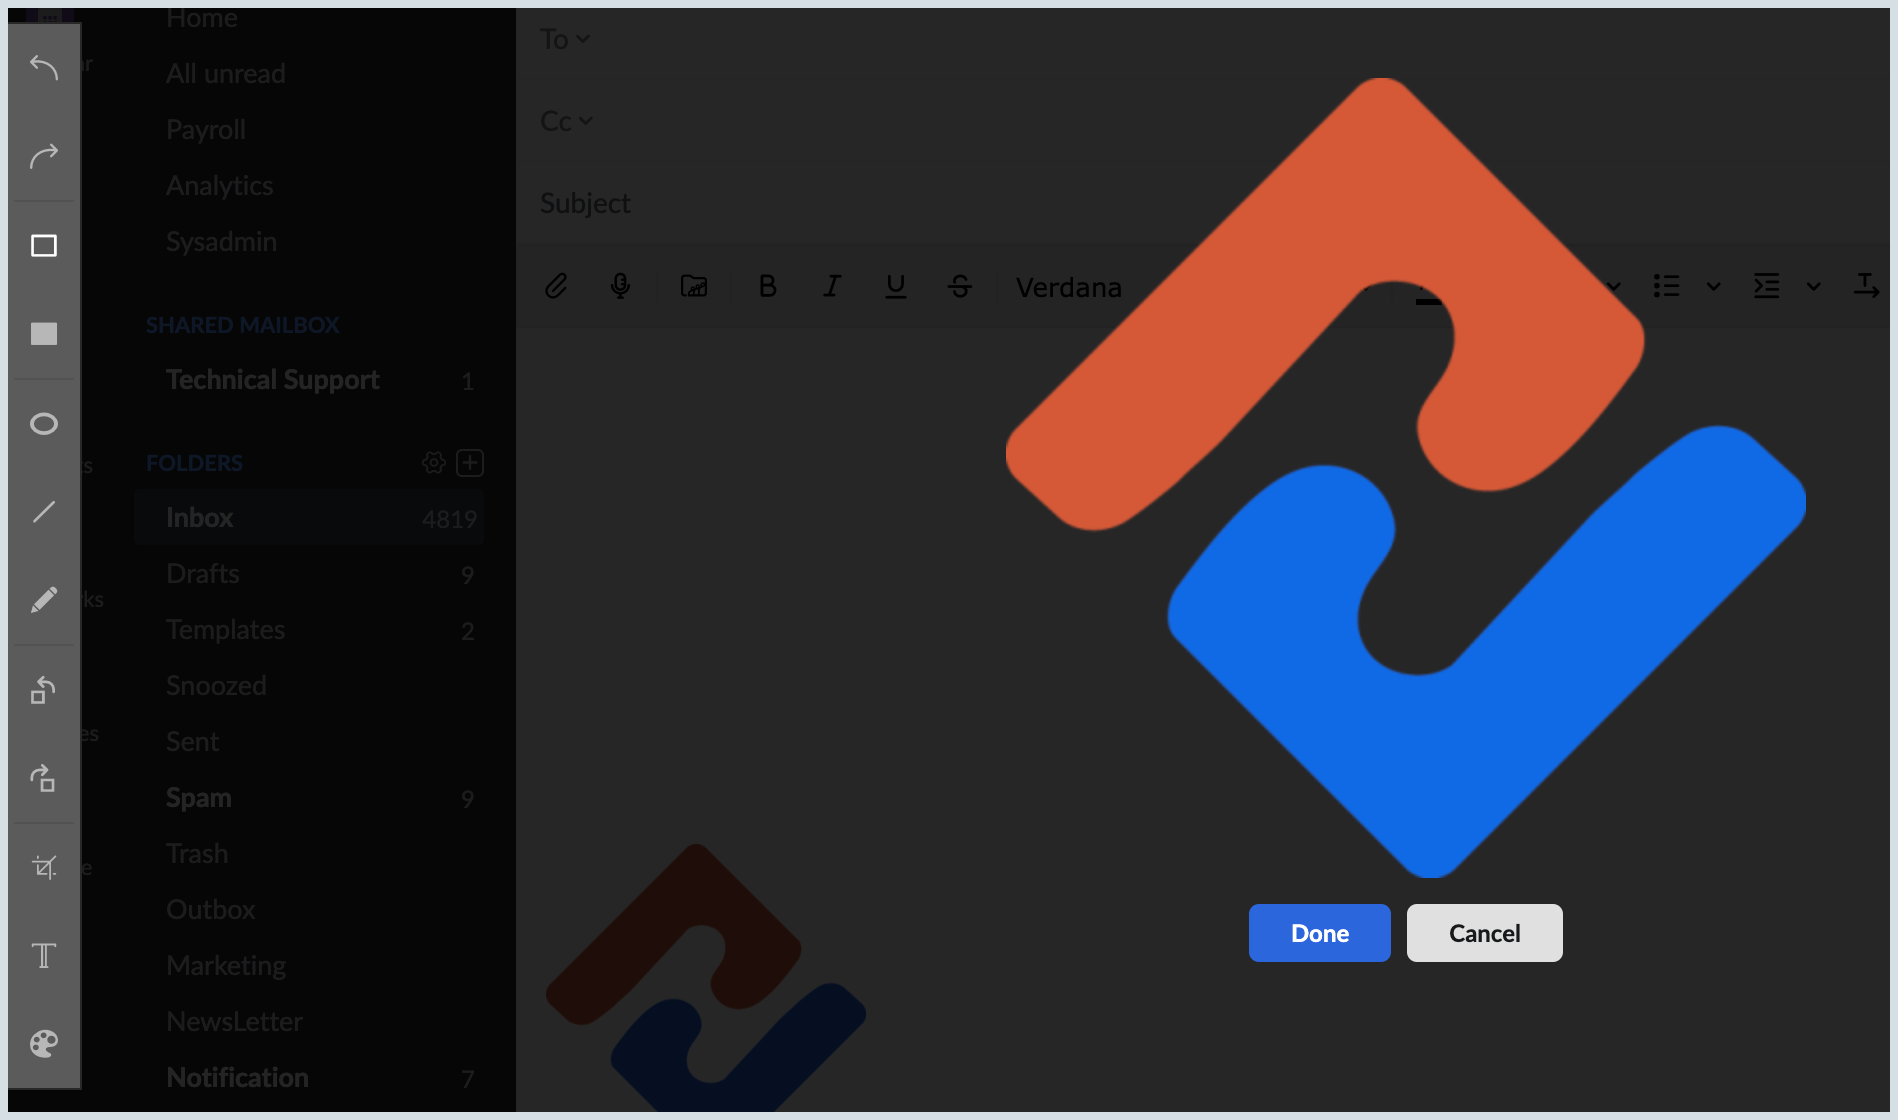
- Edit - You can annotate or change the orientation of the embedded image using the tools available. The Editor will be automatically displayed even when a image is pasted in the compose page.
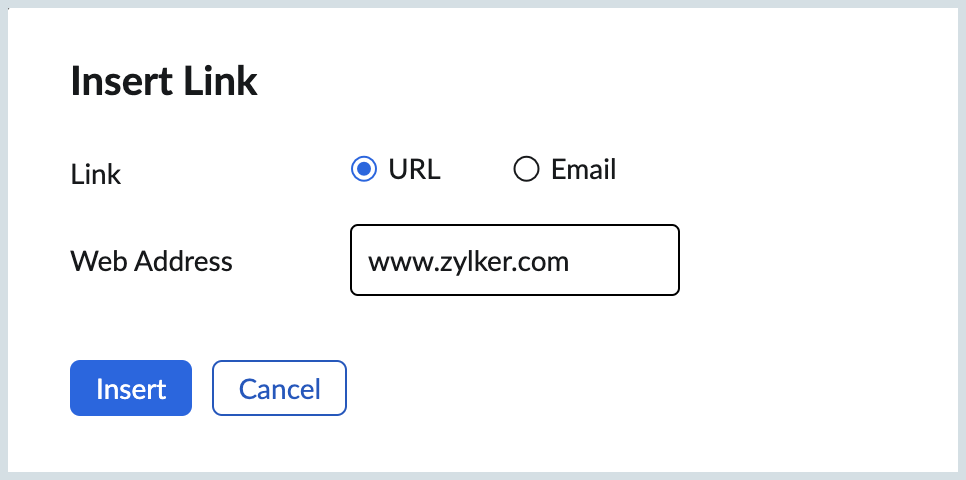
- Link - You can enter the relevant web address in the Insert Link pop up to hyperlink the image.
- Edit - You can annotate or change the orientation of the embedded image using the tools available. The Editor will be automatically displayed even when a image is pasted in the compose page.
Insert Tables
You can insert neatly formatted tables in the composer to send any data related tabulations in your email.
- Click the Insert Table icon in the formatting bar to insert a table.

- Specify the number of rows, columns.
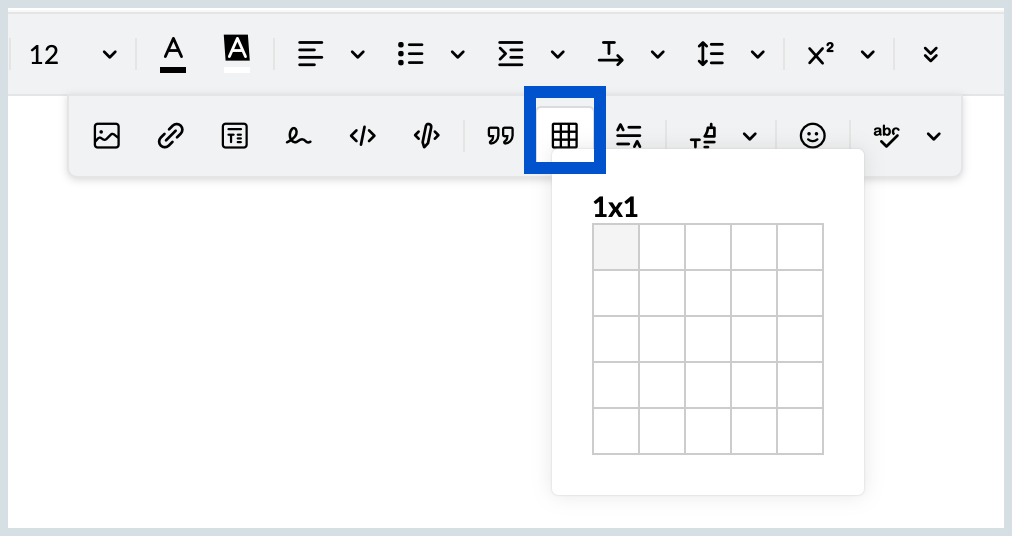
- A table with the specified rows, columns will be inserted in the message.
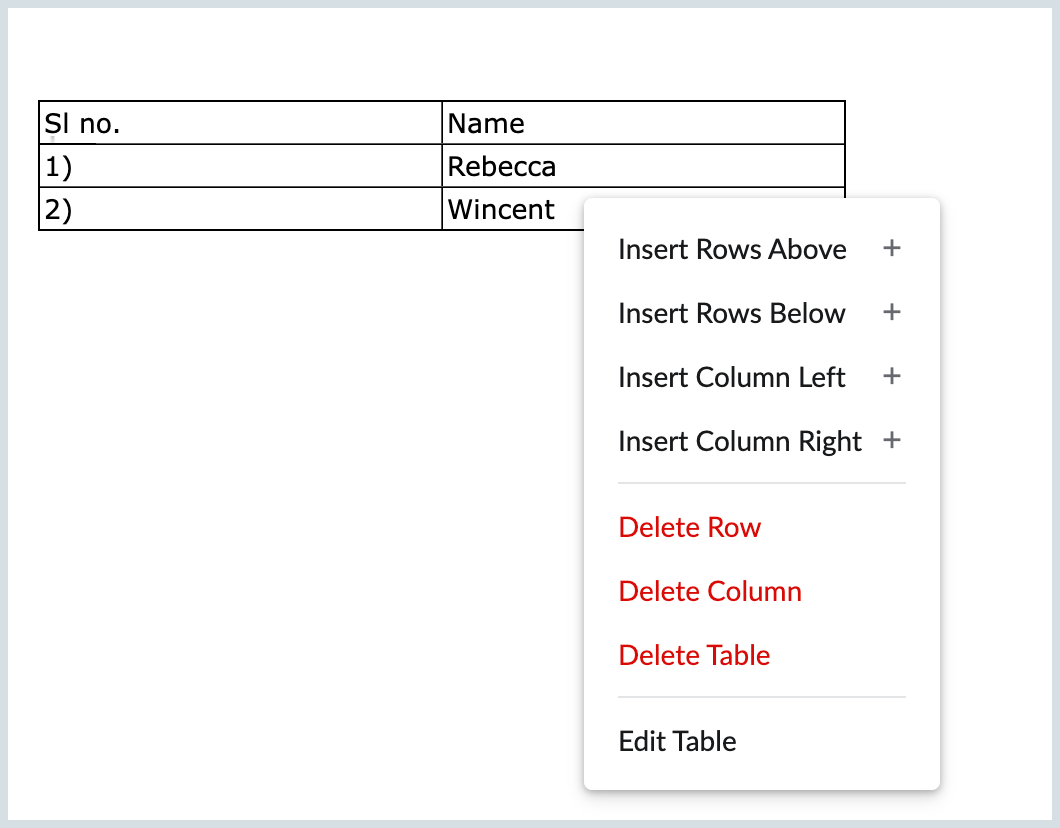
- You can right click on the table to add/remove rows or columns.
- You can also edit the initial properties of the table using the 'Edit Table' option.
Related pages
Sending Emails | Signatures | Attachment Options | Using Templates | Draft Sharing